Beaker, the endearingly anxious lab assistant from the Muppets, has captured hearts for decades with his signature “Meep!” and his often-explosive experiments alongside Dr. Bunsen Honeydew. For fans looking to bring a piece of Muppet magic into their lives, creating a Beaker puppet offers a fun and rewarding project. This guide details the journey of crafting a Beaker head, focusing on a modern approach using 3D printing for enhanced durability and customization.
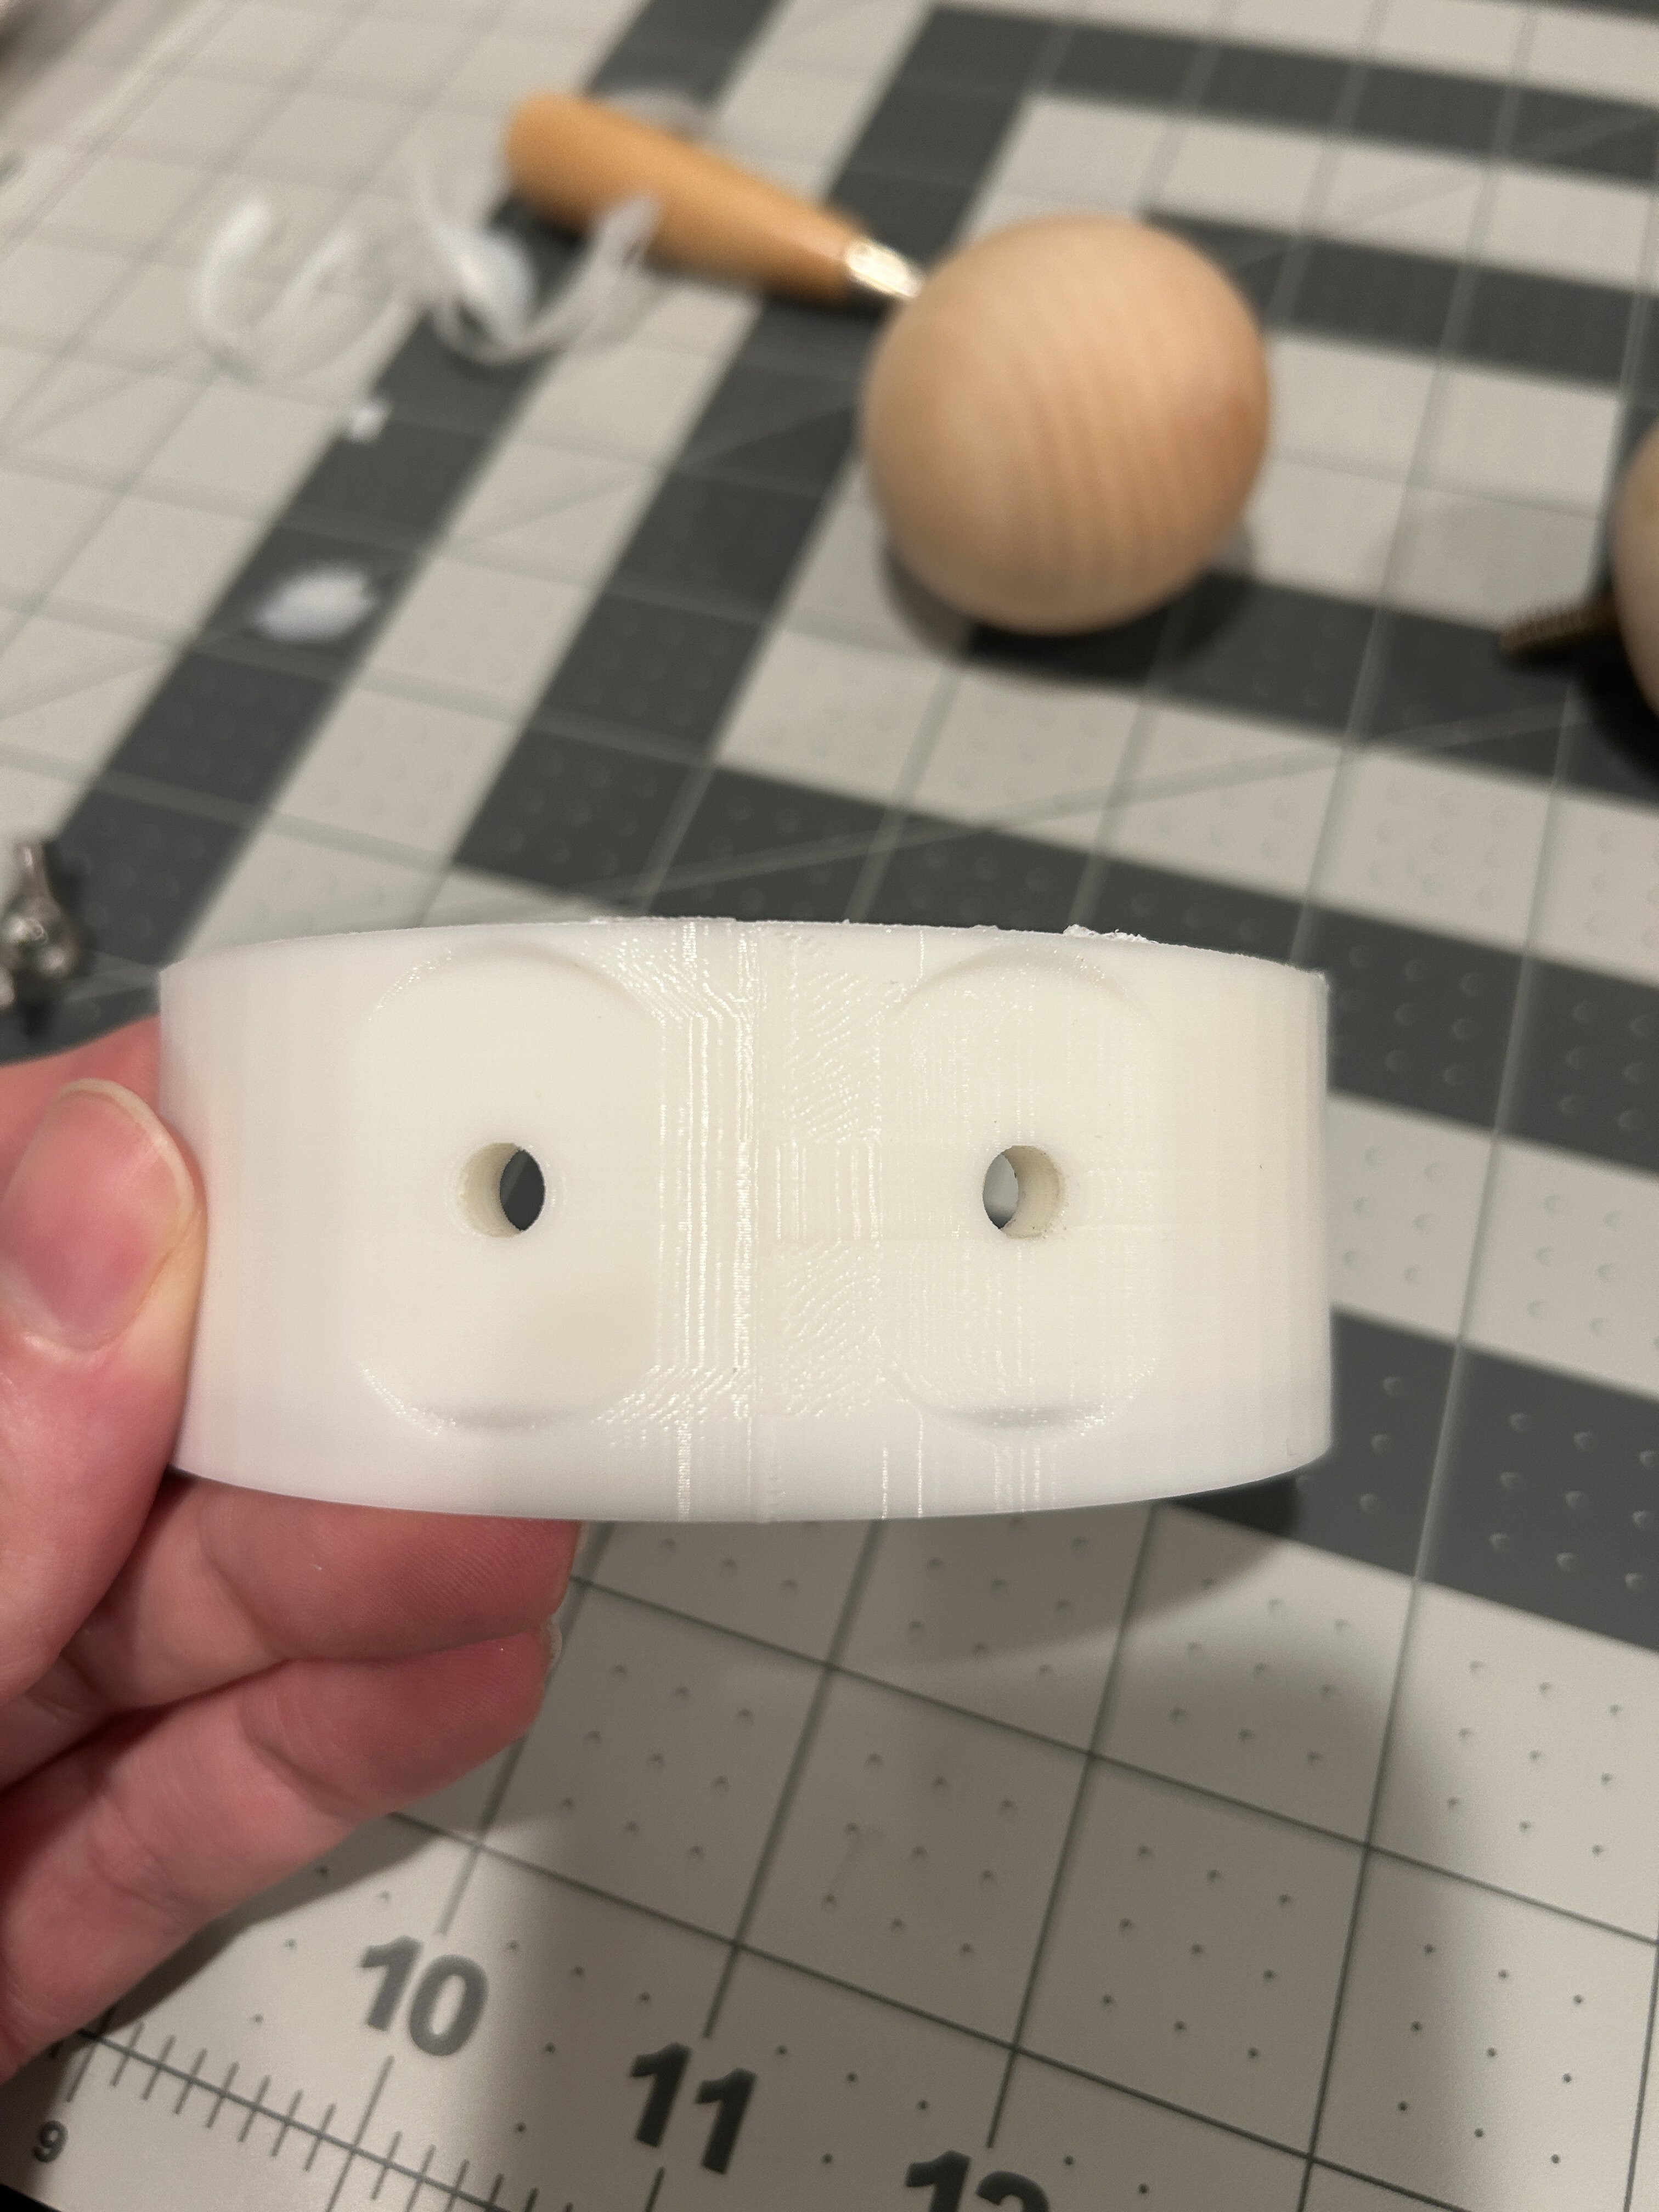
 Close-up of 3D printed Beaker head components, showcasing the mouth and eye brackets.
Embarking on this project with the goal of surprising a family member, the aim was to complete Beaker in a timely manner, learning from the experience of a previous Kermit puppet build. Like many iconic Muppets characters, Beaker’s design has subtly evolved over the years. This project targets the contemporary Beaker’s appearance, a reference image of which served as the starting point. While the head seemed like a straightforward part of the build, the clothing presented a more significant challenge, requiring custom creation rather than modification of store-bought items. An early decision involved whether to create a standard puppet or a full-body version, a choice that would influence the overall construction.
Traditionally, Beaker’s head is constructed from a simple 4-inch diameter cardboard tube. Initially, this method was considered, but the project shifted towards 3D printing for increased durability and the potential for intricate design elements. Plastic offered a more robust material compared to cardboard and allowed for modifications that would be difficult to achieve with traditional methods. Furthermore, having a digital 3D model allowed for easy adjustments throughout the design process. The design phase began in Adobe Illustrator, where reference images of Beaker from various angles were used to trace key features. These 2D illustrations were then imported into Blender, a 3D modeling software, to begin sculpting the digital Beaker head.
 Digital 3D model of Beaker's head, showing the back view and design details.
To understand the benefits of the 3D printed approach, it’s helpful to consider the traditional cardboard construction method. Typically, a mouth shape is cut from the cardboard tube, with the cutout piece reserved to form the lower jaw. A semi-circular section below the mouth is then removed to allow the jaw to pivot effectively. This gap, while essential for movement, is later concealed by fleece. A rounded piece of foam is often added to the top of the head to shape Beaker’s distinctive hair.
However, using 3D printing opened up opportunities for design enhancements. Internal walls were integrated into the mouth design to create a secure housing for a mouth plate. While traditional methods often rely on gluing the mouth plate to a thin cardboard edge, 3D printing allows for a fully integrated and more durable solution. This integrated design was deemed crucial for longevity, especially considering the puppet was intended as a gift for someone living far away, minimizing opportunities for repairs.
For the 3D printed head, a 1.5mm thickness was chosen to balance durability with weight. The eyes were planned to be crafted from 2-inch diameter unfinished wood knobs. Although heavier than ideal, these knobs offered pre-drilled holes and a slightly flattened side, features observed in various Beaker puppets over the years. These flattened sides can contribute to the characteristic slightly flattened eye appearance seen on some Beakers. Screws and nuts were chosen for eye attachment to ensure stability. The eye socket area in the 3D model was reinforced and designed with precisely angled and spaced holes, allowing the eyes to sit closely together in the center. A separate dome-shaped top piece was designed to create Beaker’s hair, incorporating a hidden ventilation hole to allow heat to escape, a thoughtful detail for performance and comfort.
 3D render of the main Beaker head component, showcasing the cylindrical shape and mouth opening.
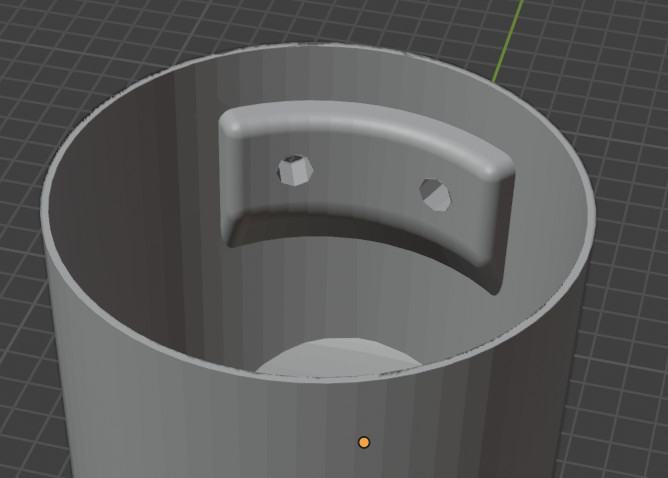 3D render of the internal eye bracket designed for Beaker's head, showing screw holes.
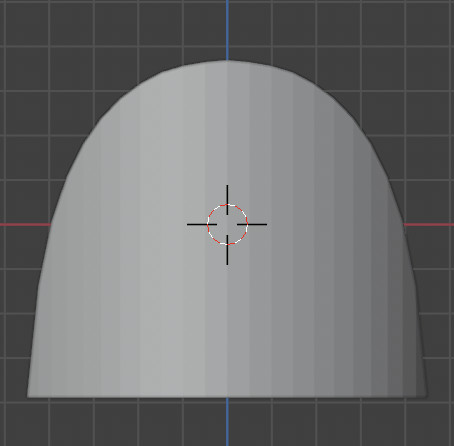
 3D render of the dome-shaped top for Beaker's head, intended to create the hair volume.
 3D render of the mouth section for the Beaker puppet head, highlighting the integrated design.
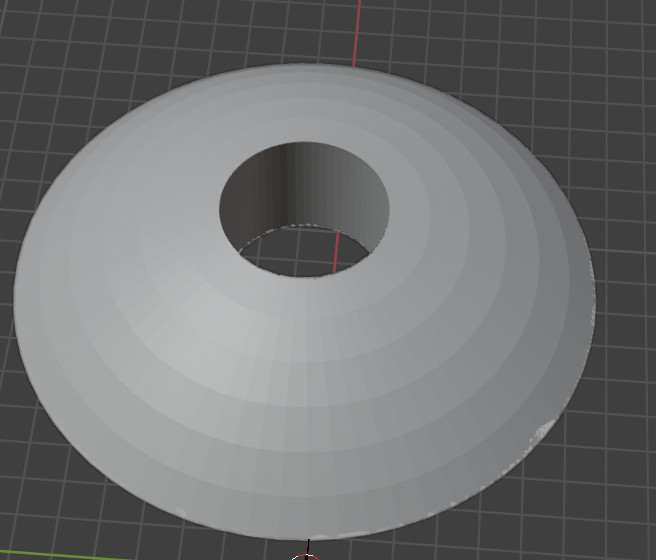
 3D render showing a bottom view of the Beaker head and mouth, illustrating the assembly.
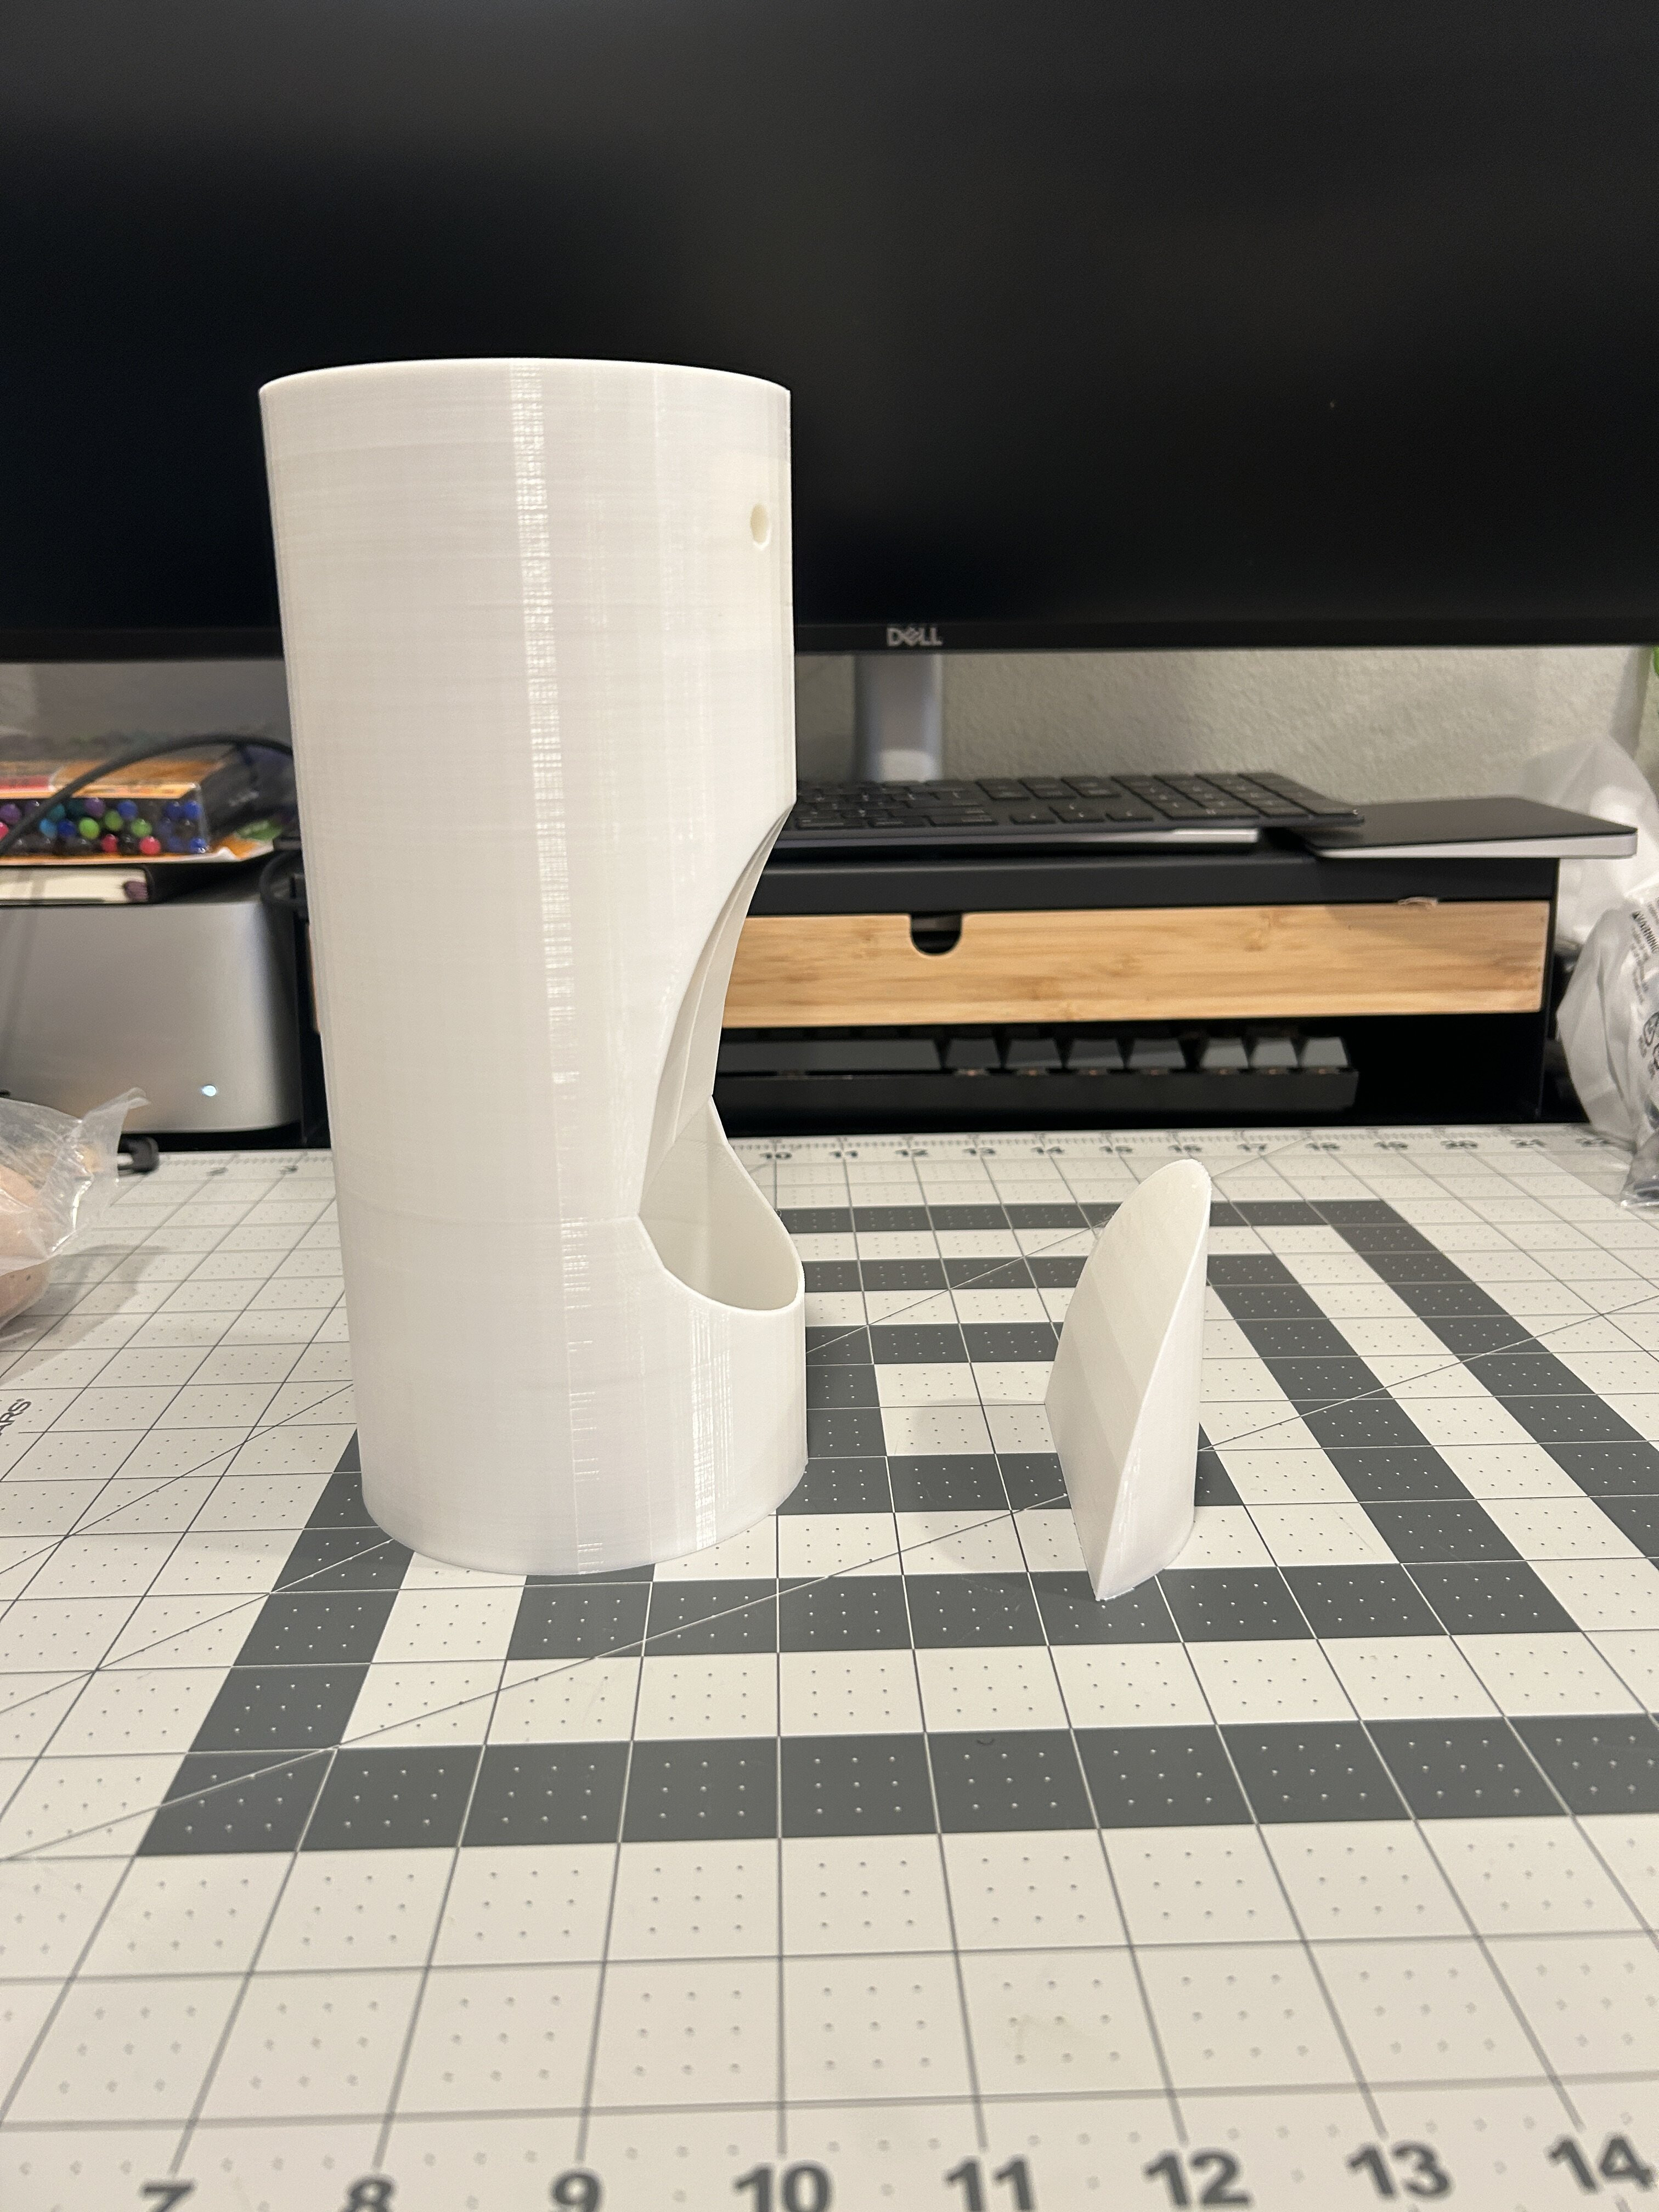
The 3D printing process brought the digital design to life. The printed head and mouth pieces emerged as tangible components, ready for assembly.
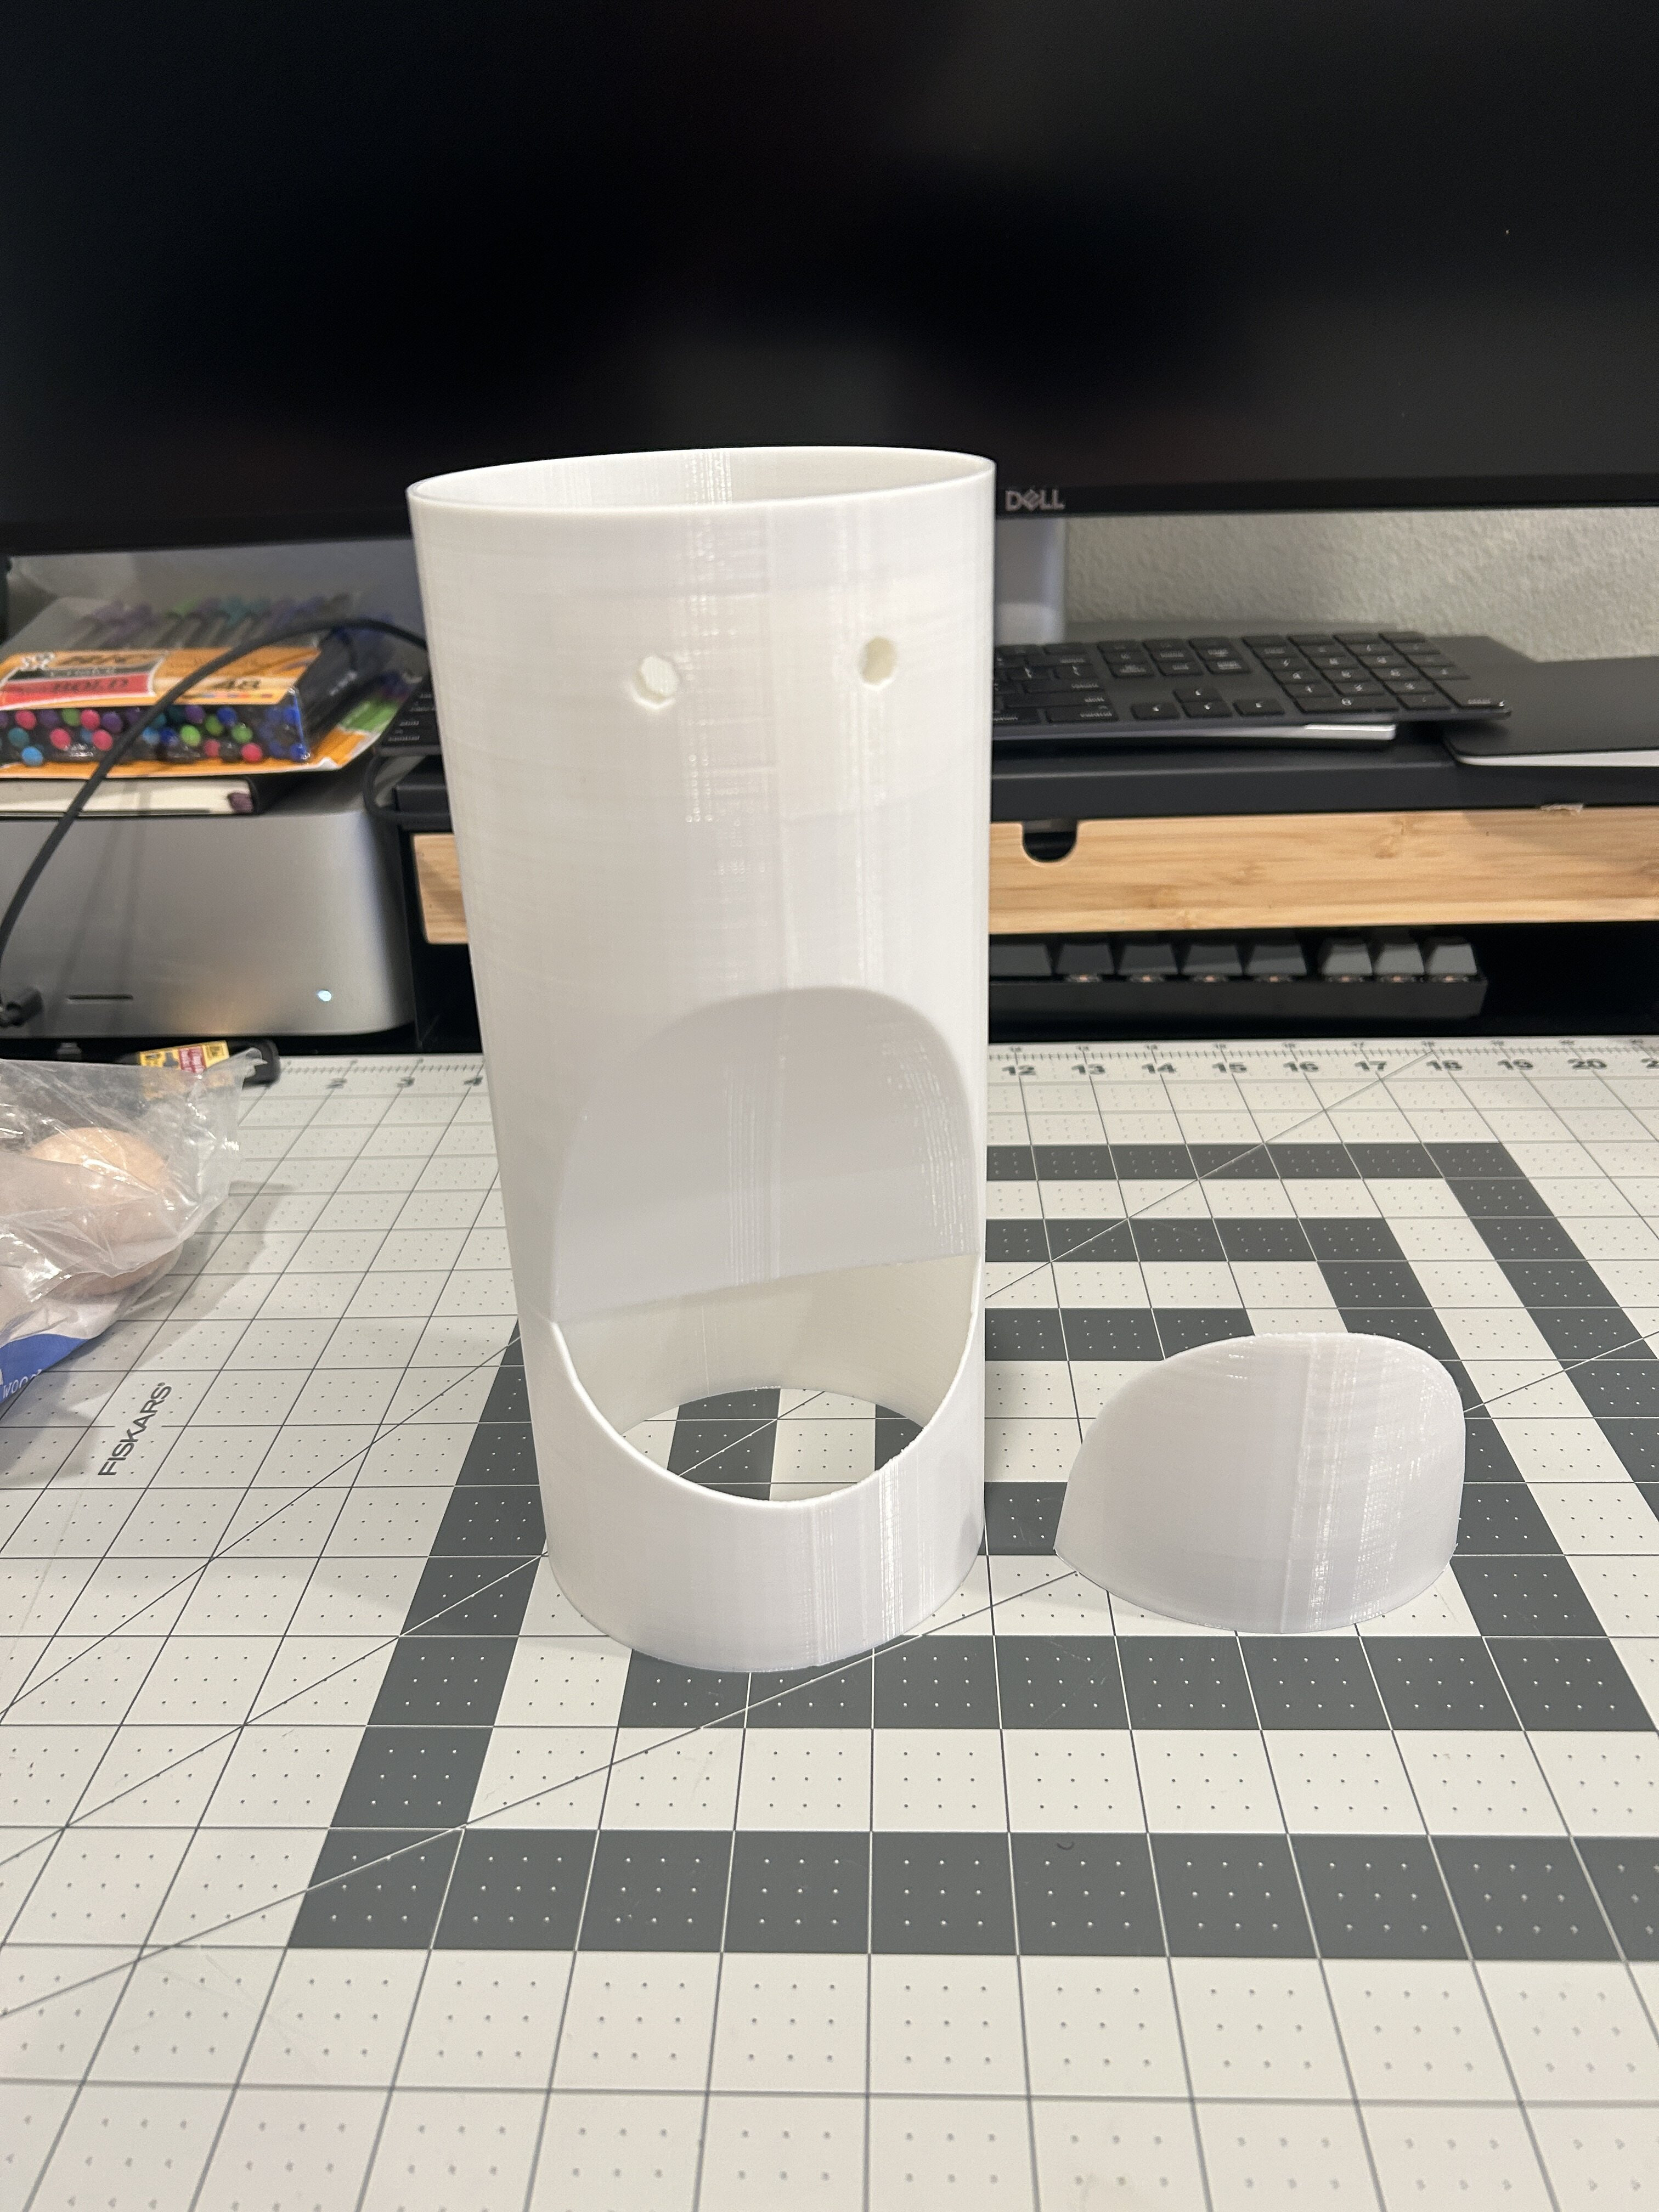 Close-up photograph of the 3D printed Beaker head and mouth pieces after printing, showcasing the raw plastic material.
 Angle view of the printed Beaker head and mouth pieces, highlighting the shapes and forms.
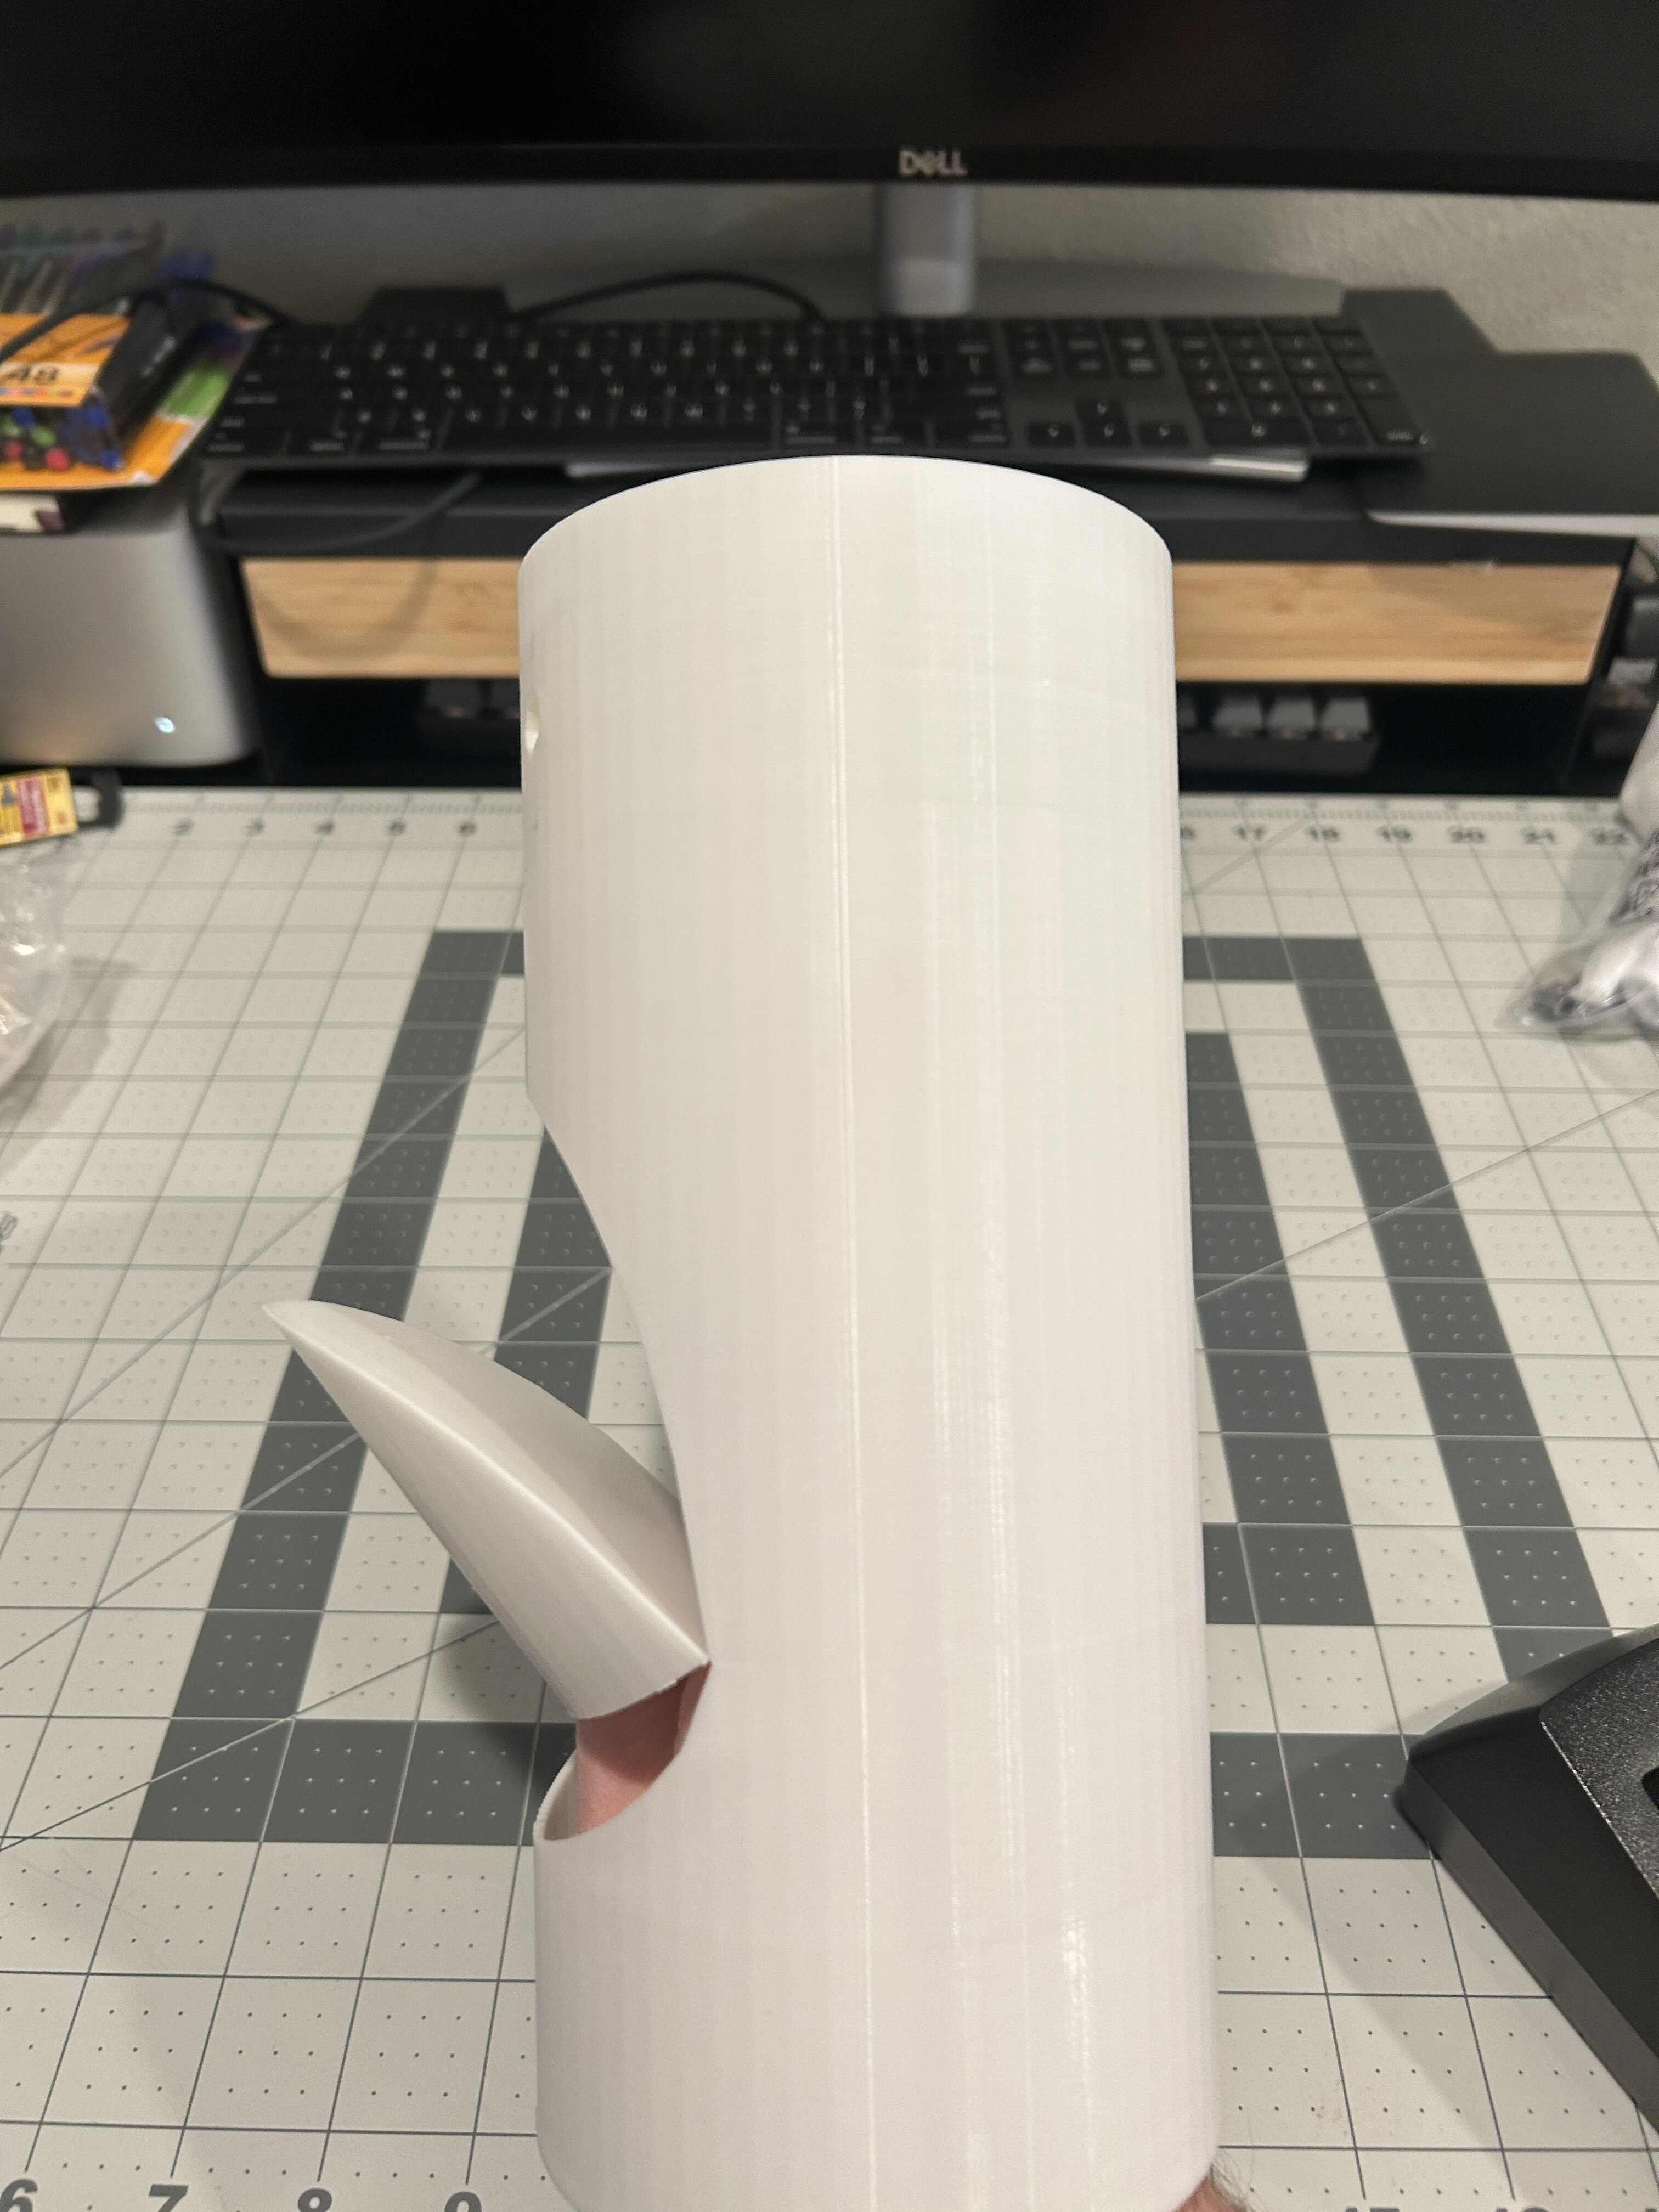 Side profile of the 3D printed Beaker head, showing the mouth opening and overall curvature.
 Frontal view of the 3D printed Beaker head, focusing on the eye sockets and mouth area.
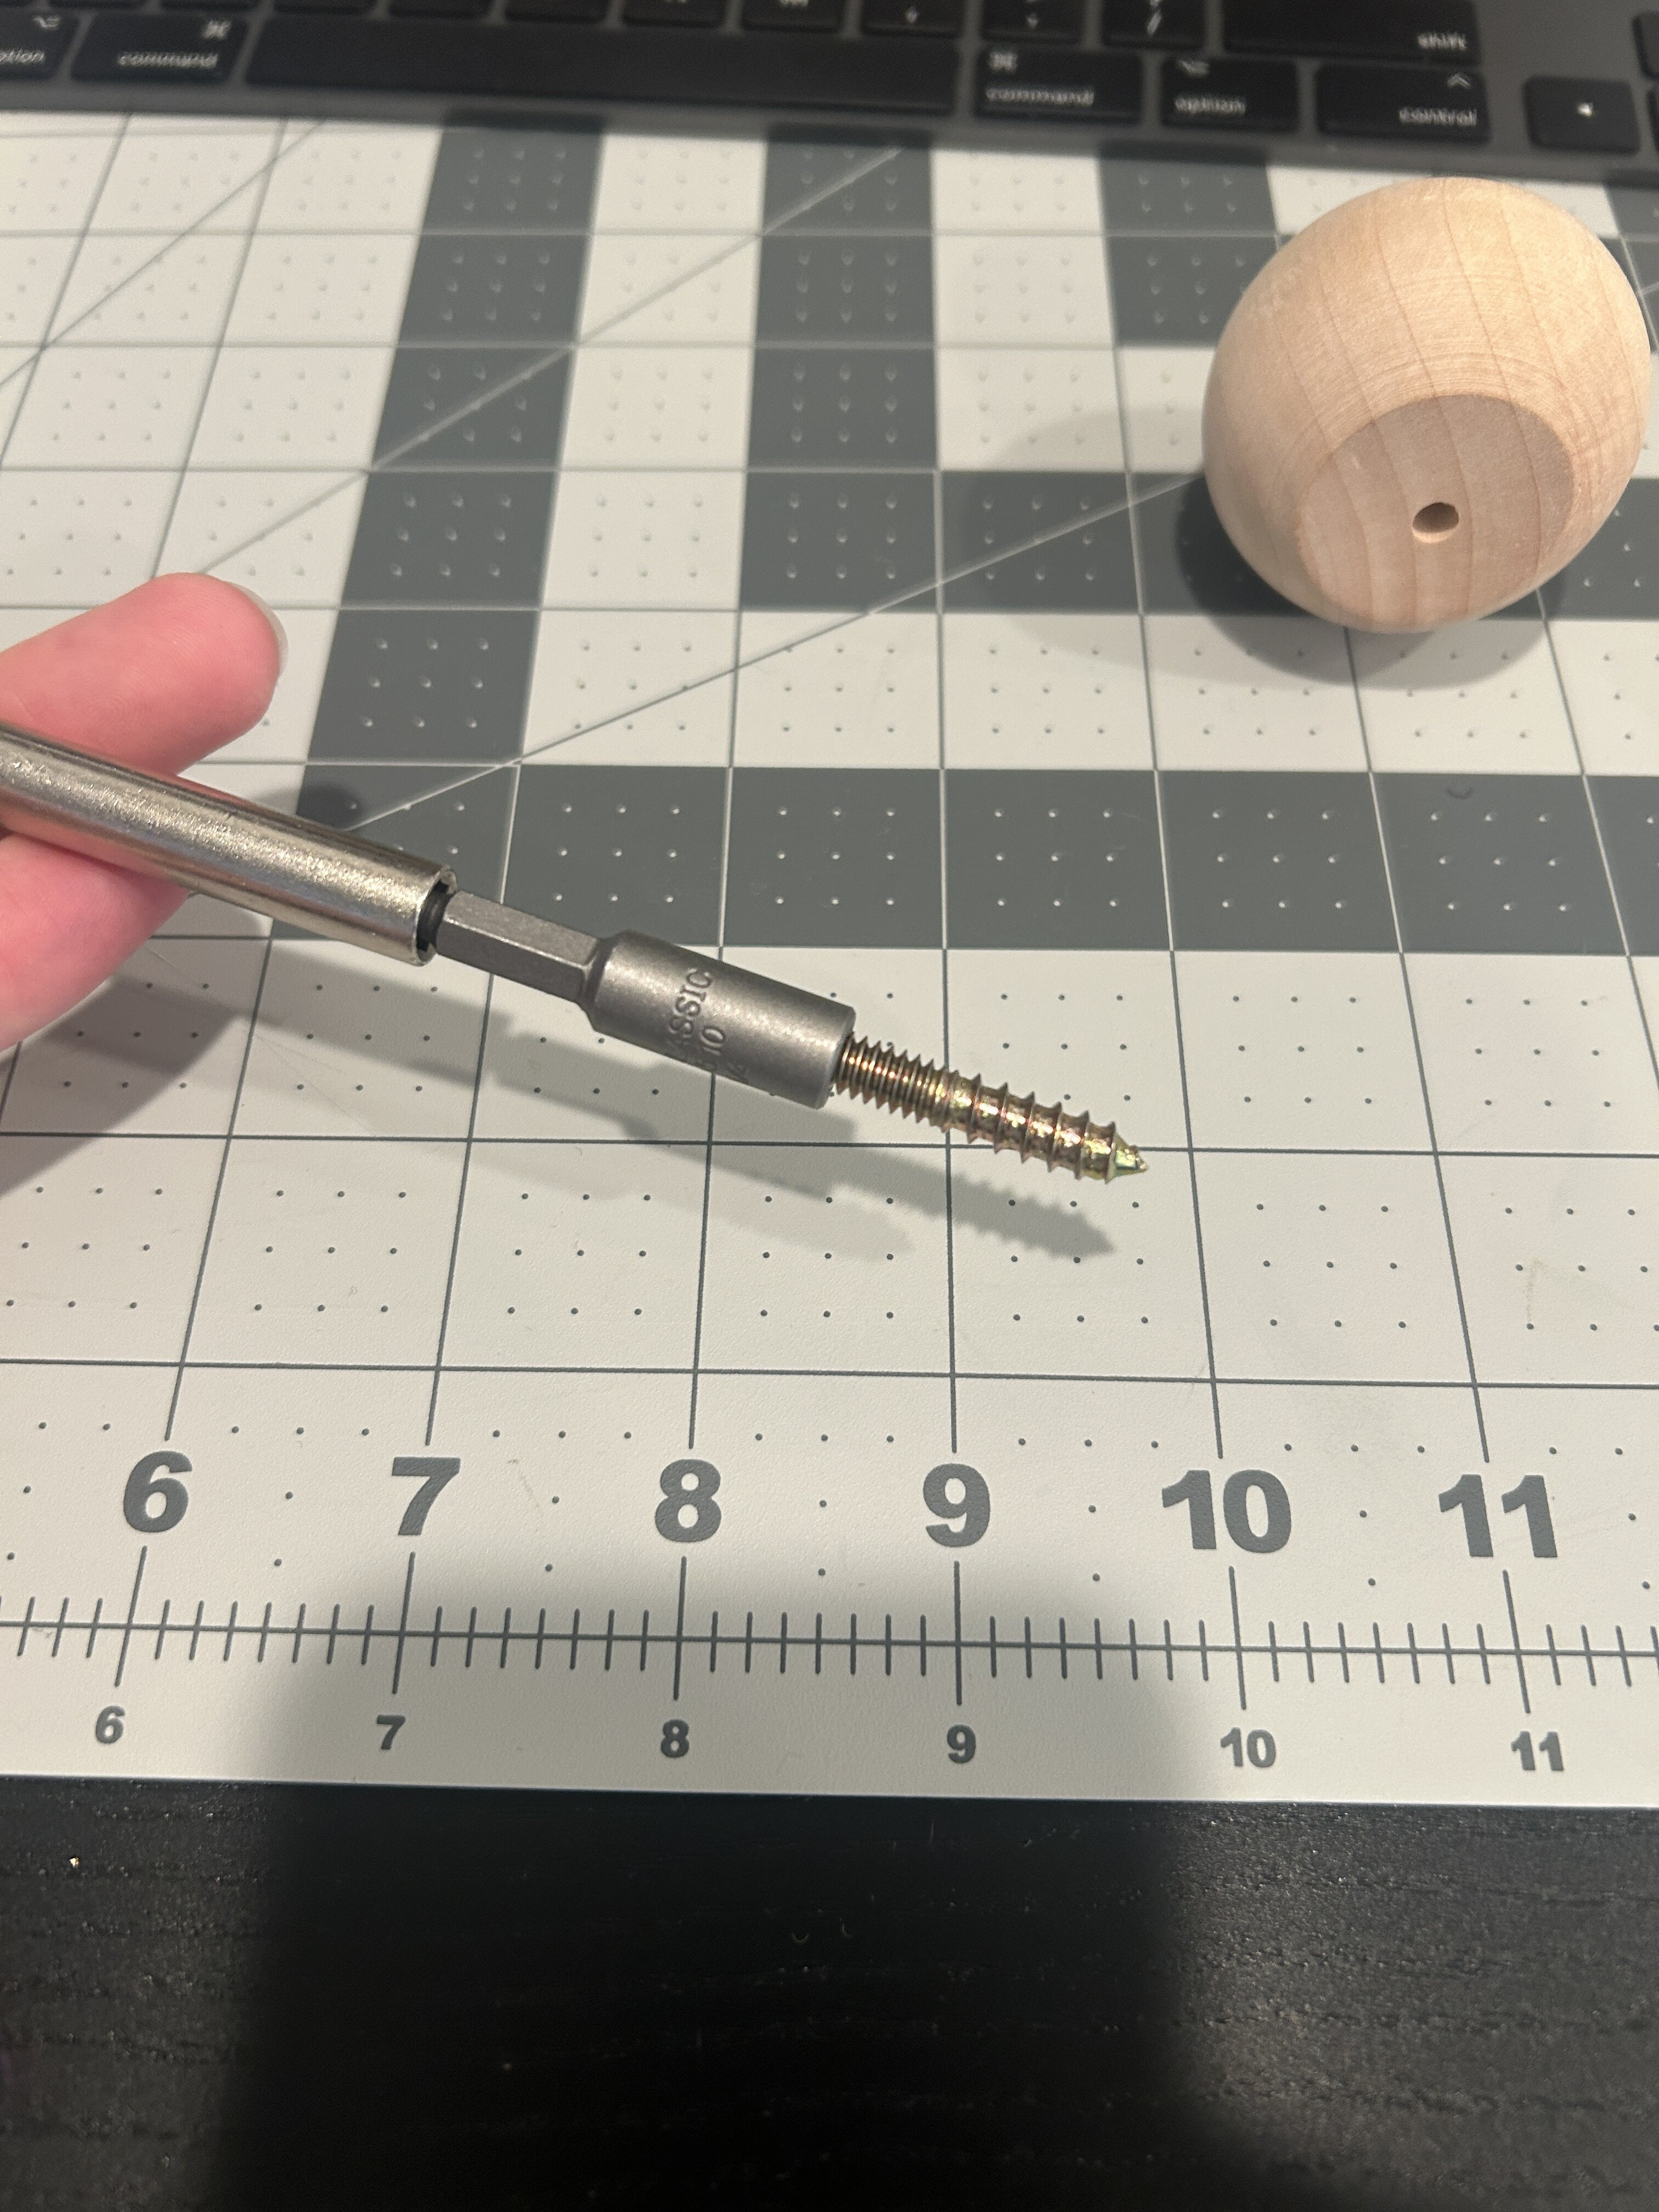
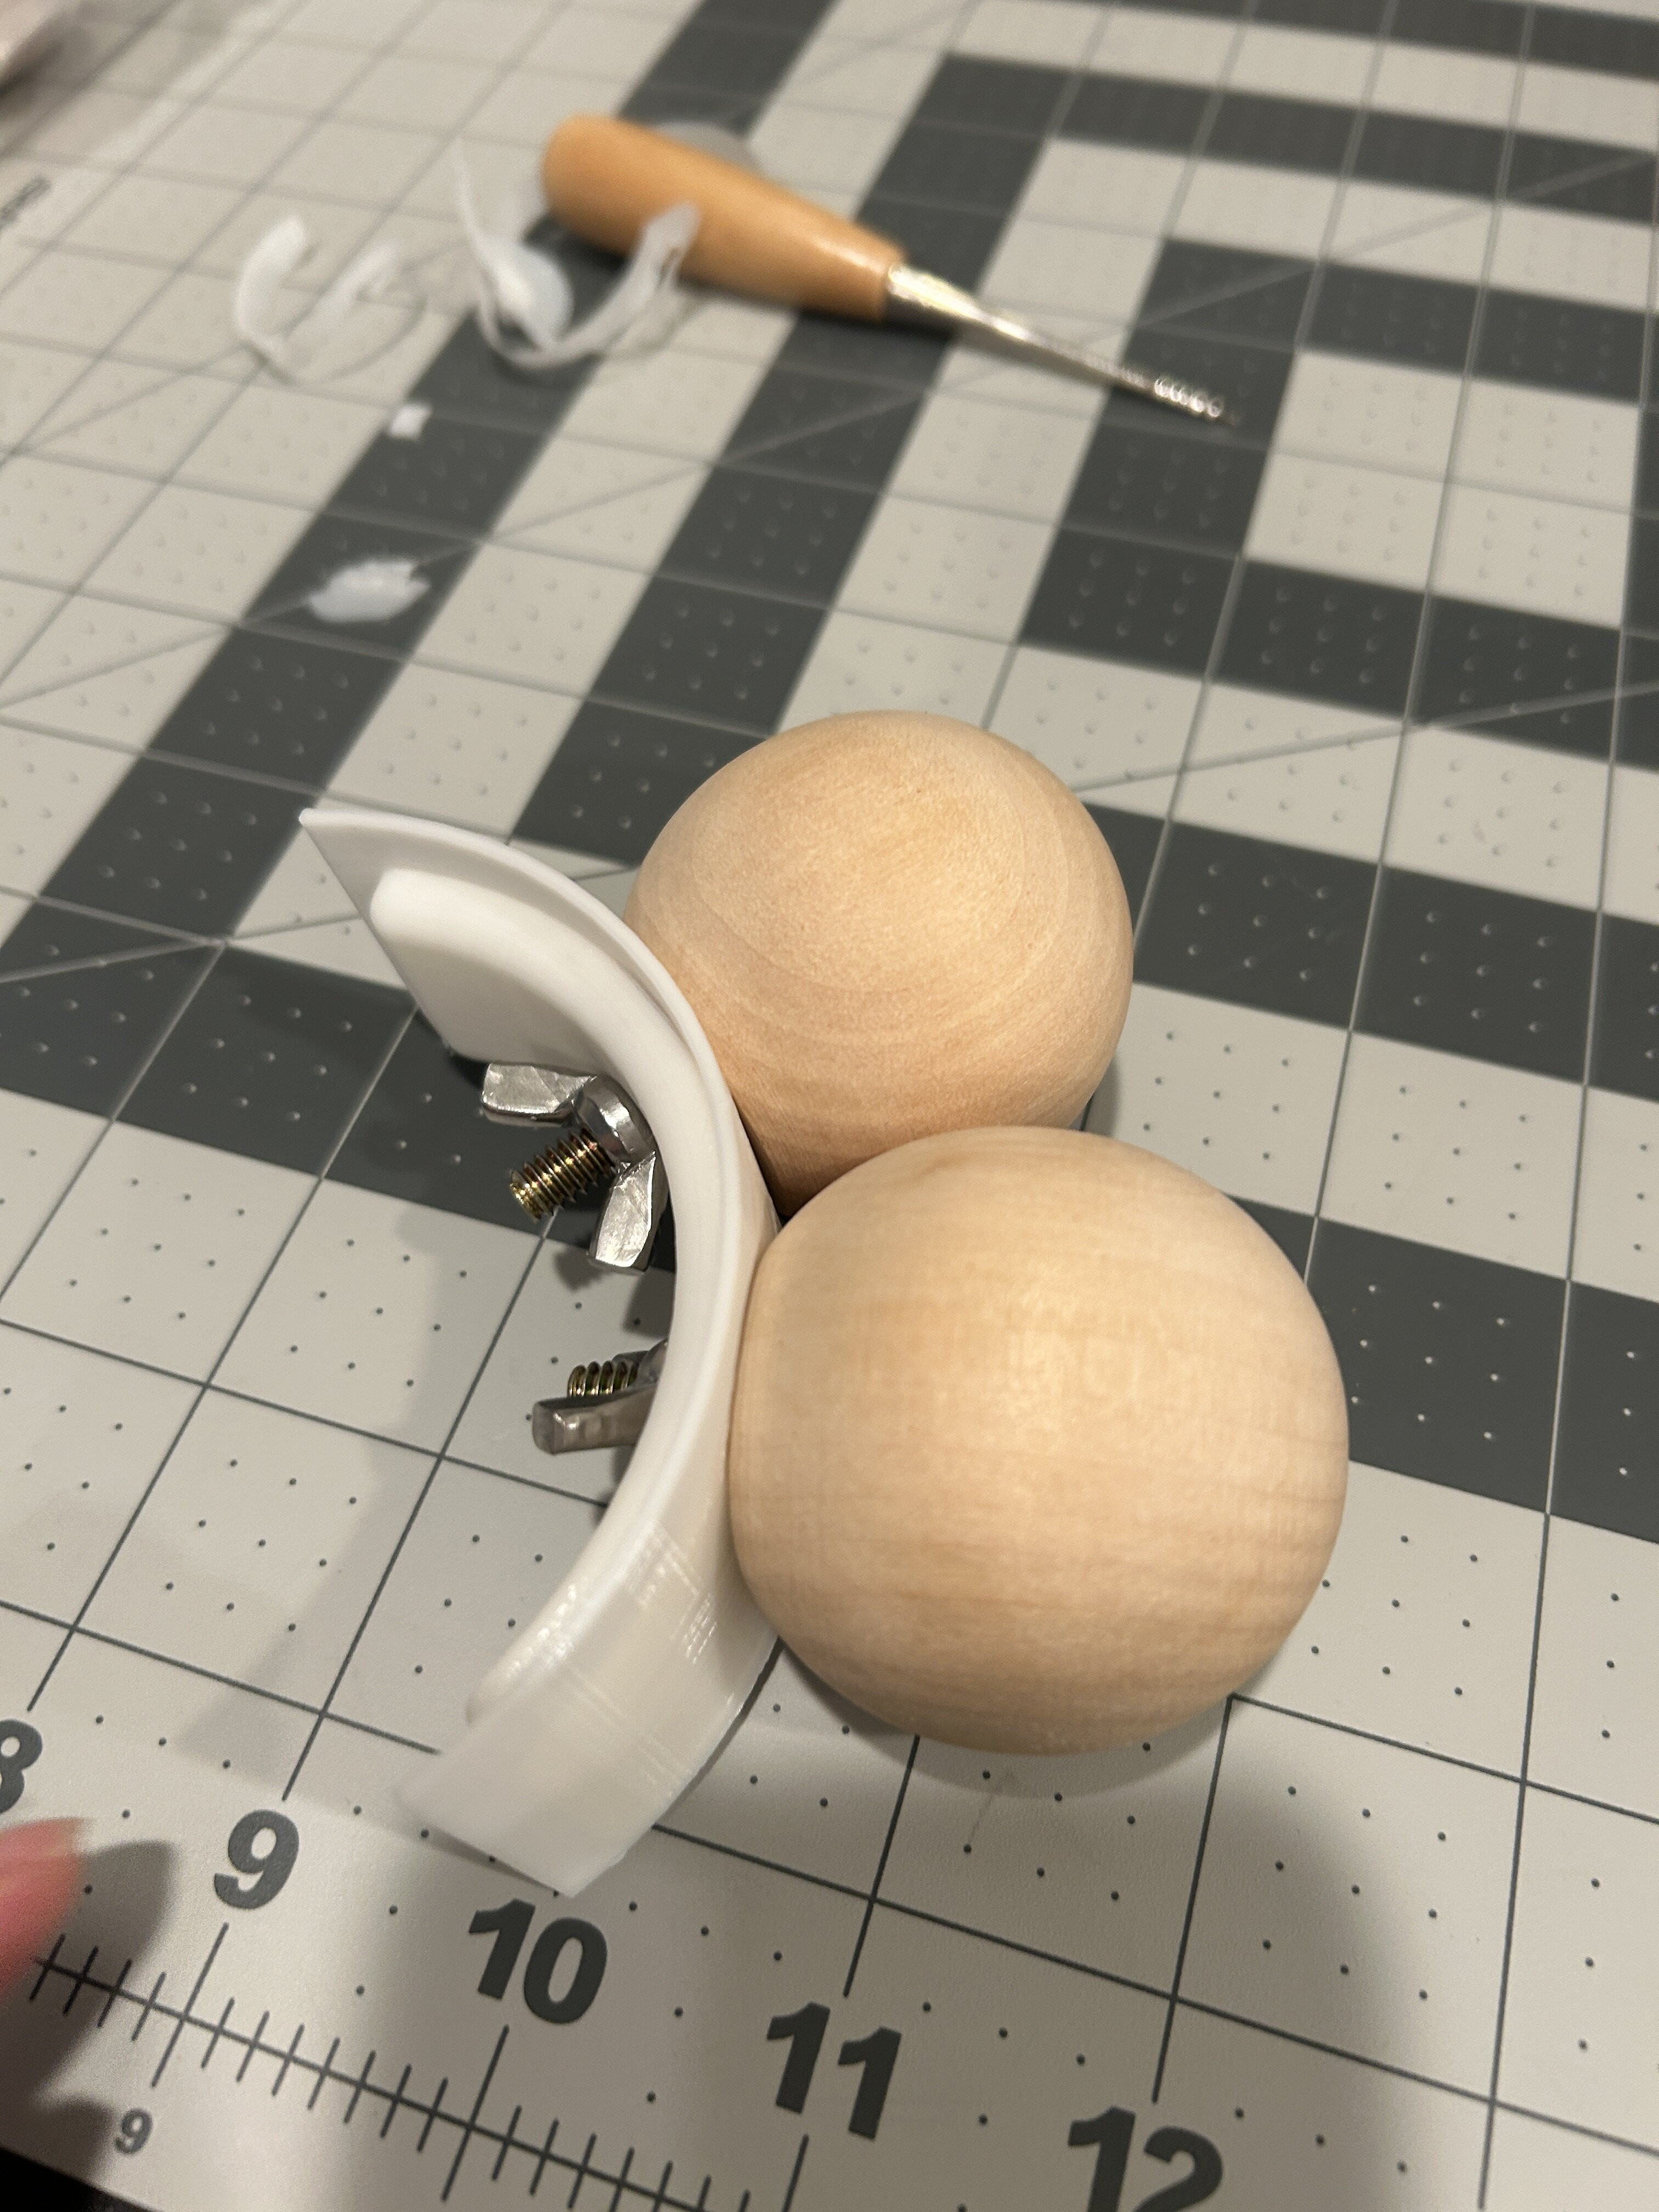
Next, the wooden knob eyes were test-fitted to ensure the design’s accuracy. 1/4″ x 1-1/2″ hanger bolts, commonly used for furniture legs, were chosen for eye attachment. The coarser thread was ideal for screwing into the wood knobs, while the finer thread (1/4″-20) allowed secure attachment to the plastic head using wing nuts. A specialized drill attachment facilitated the bolt insertion into the plastic. The pre-drilled holes in the wooden knobs simplified the process, allowing for screwdriver use rather than requiring a drill.
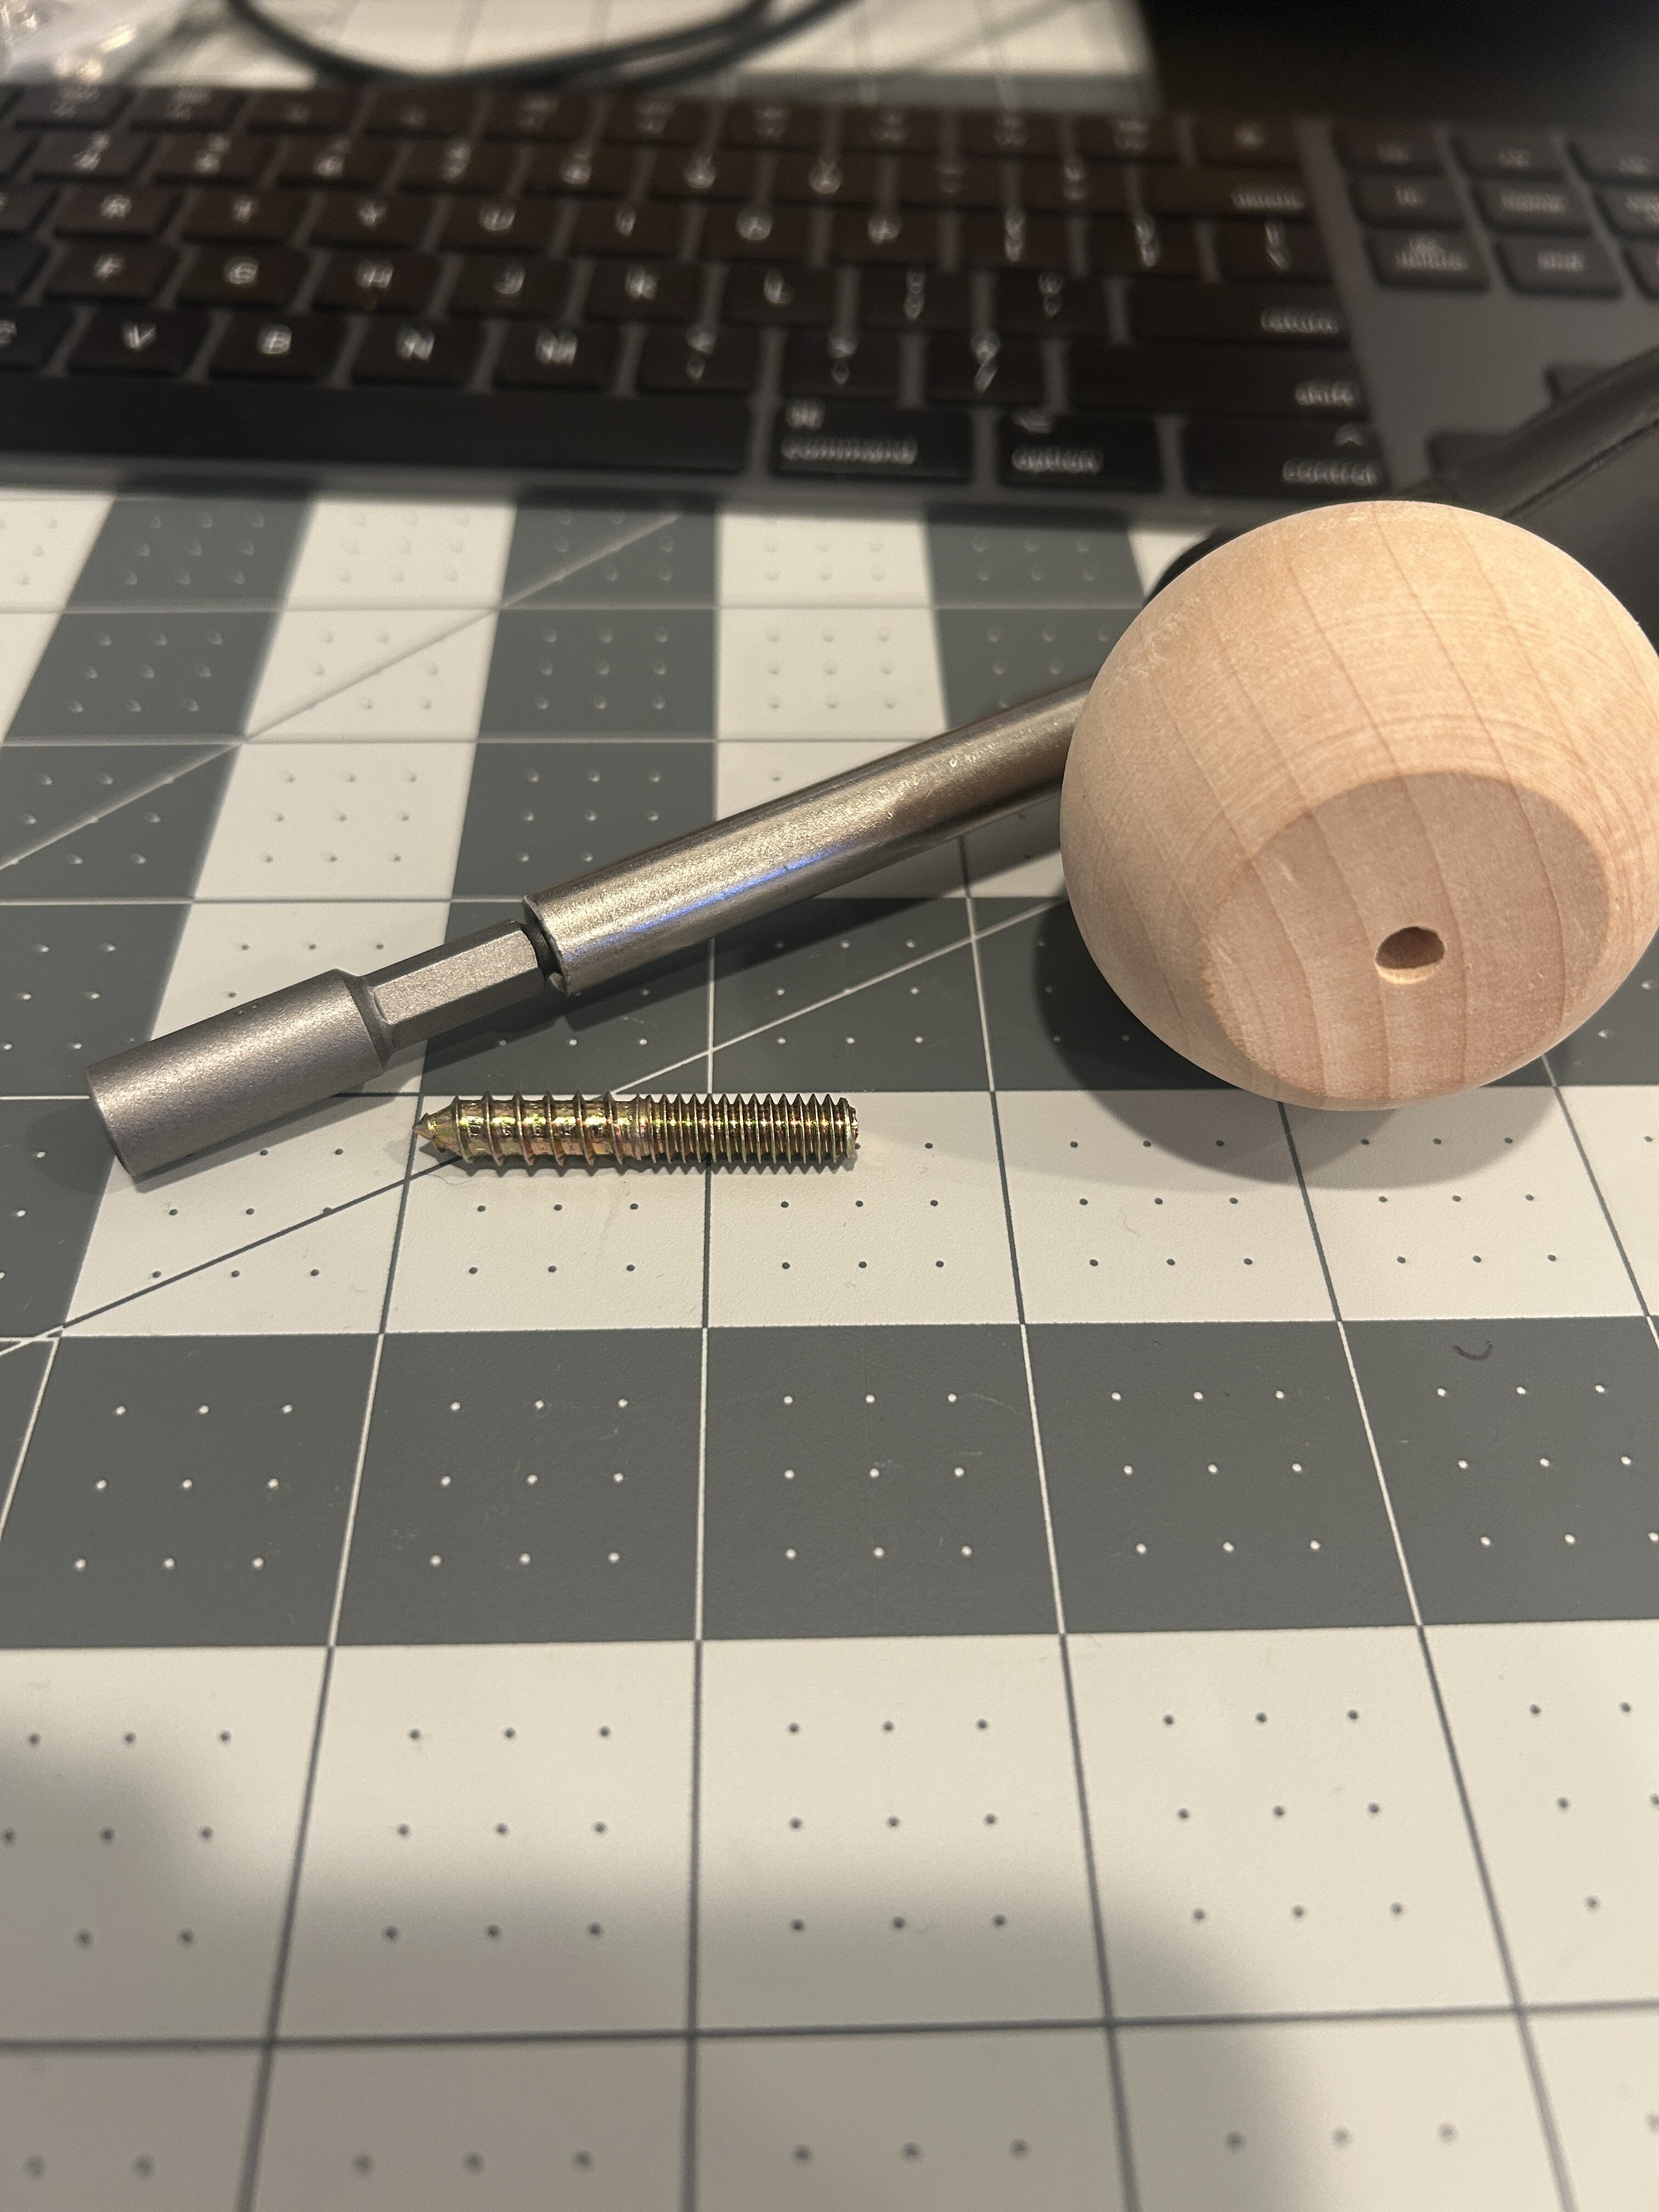 Image showing the process of attaching wooden knob eyes to the 3D printed Beaker head using bolts and tools.
 Detailed shot of the hanger bolt being used to attach the wooden eye knob to the Beaker head.
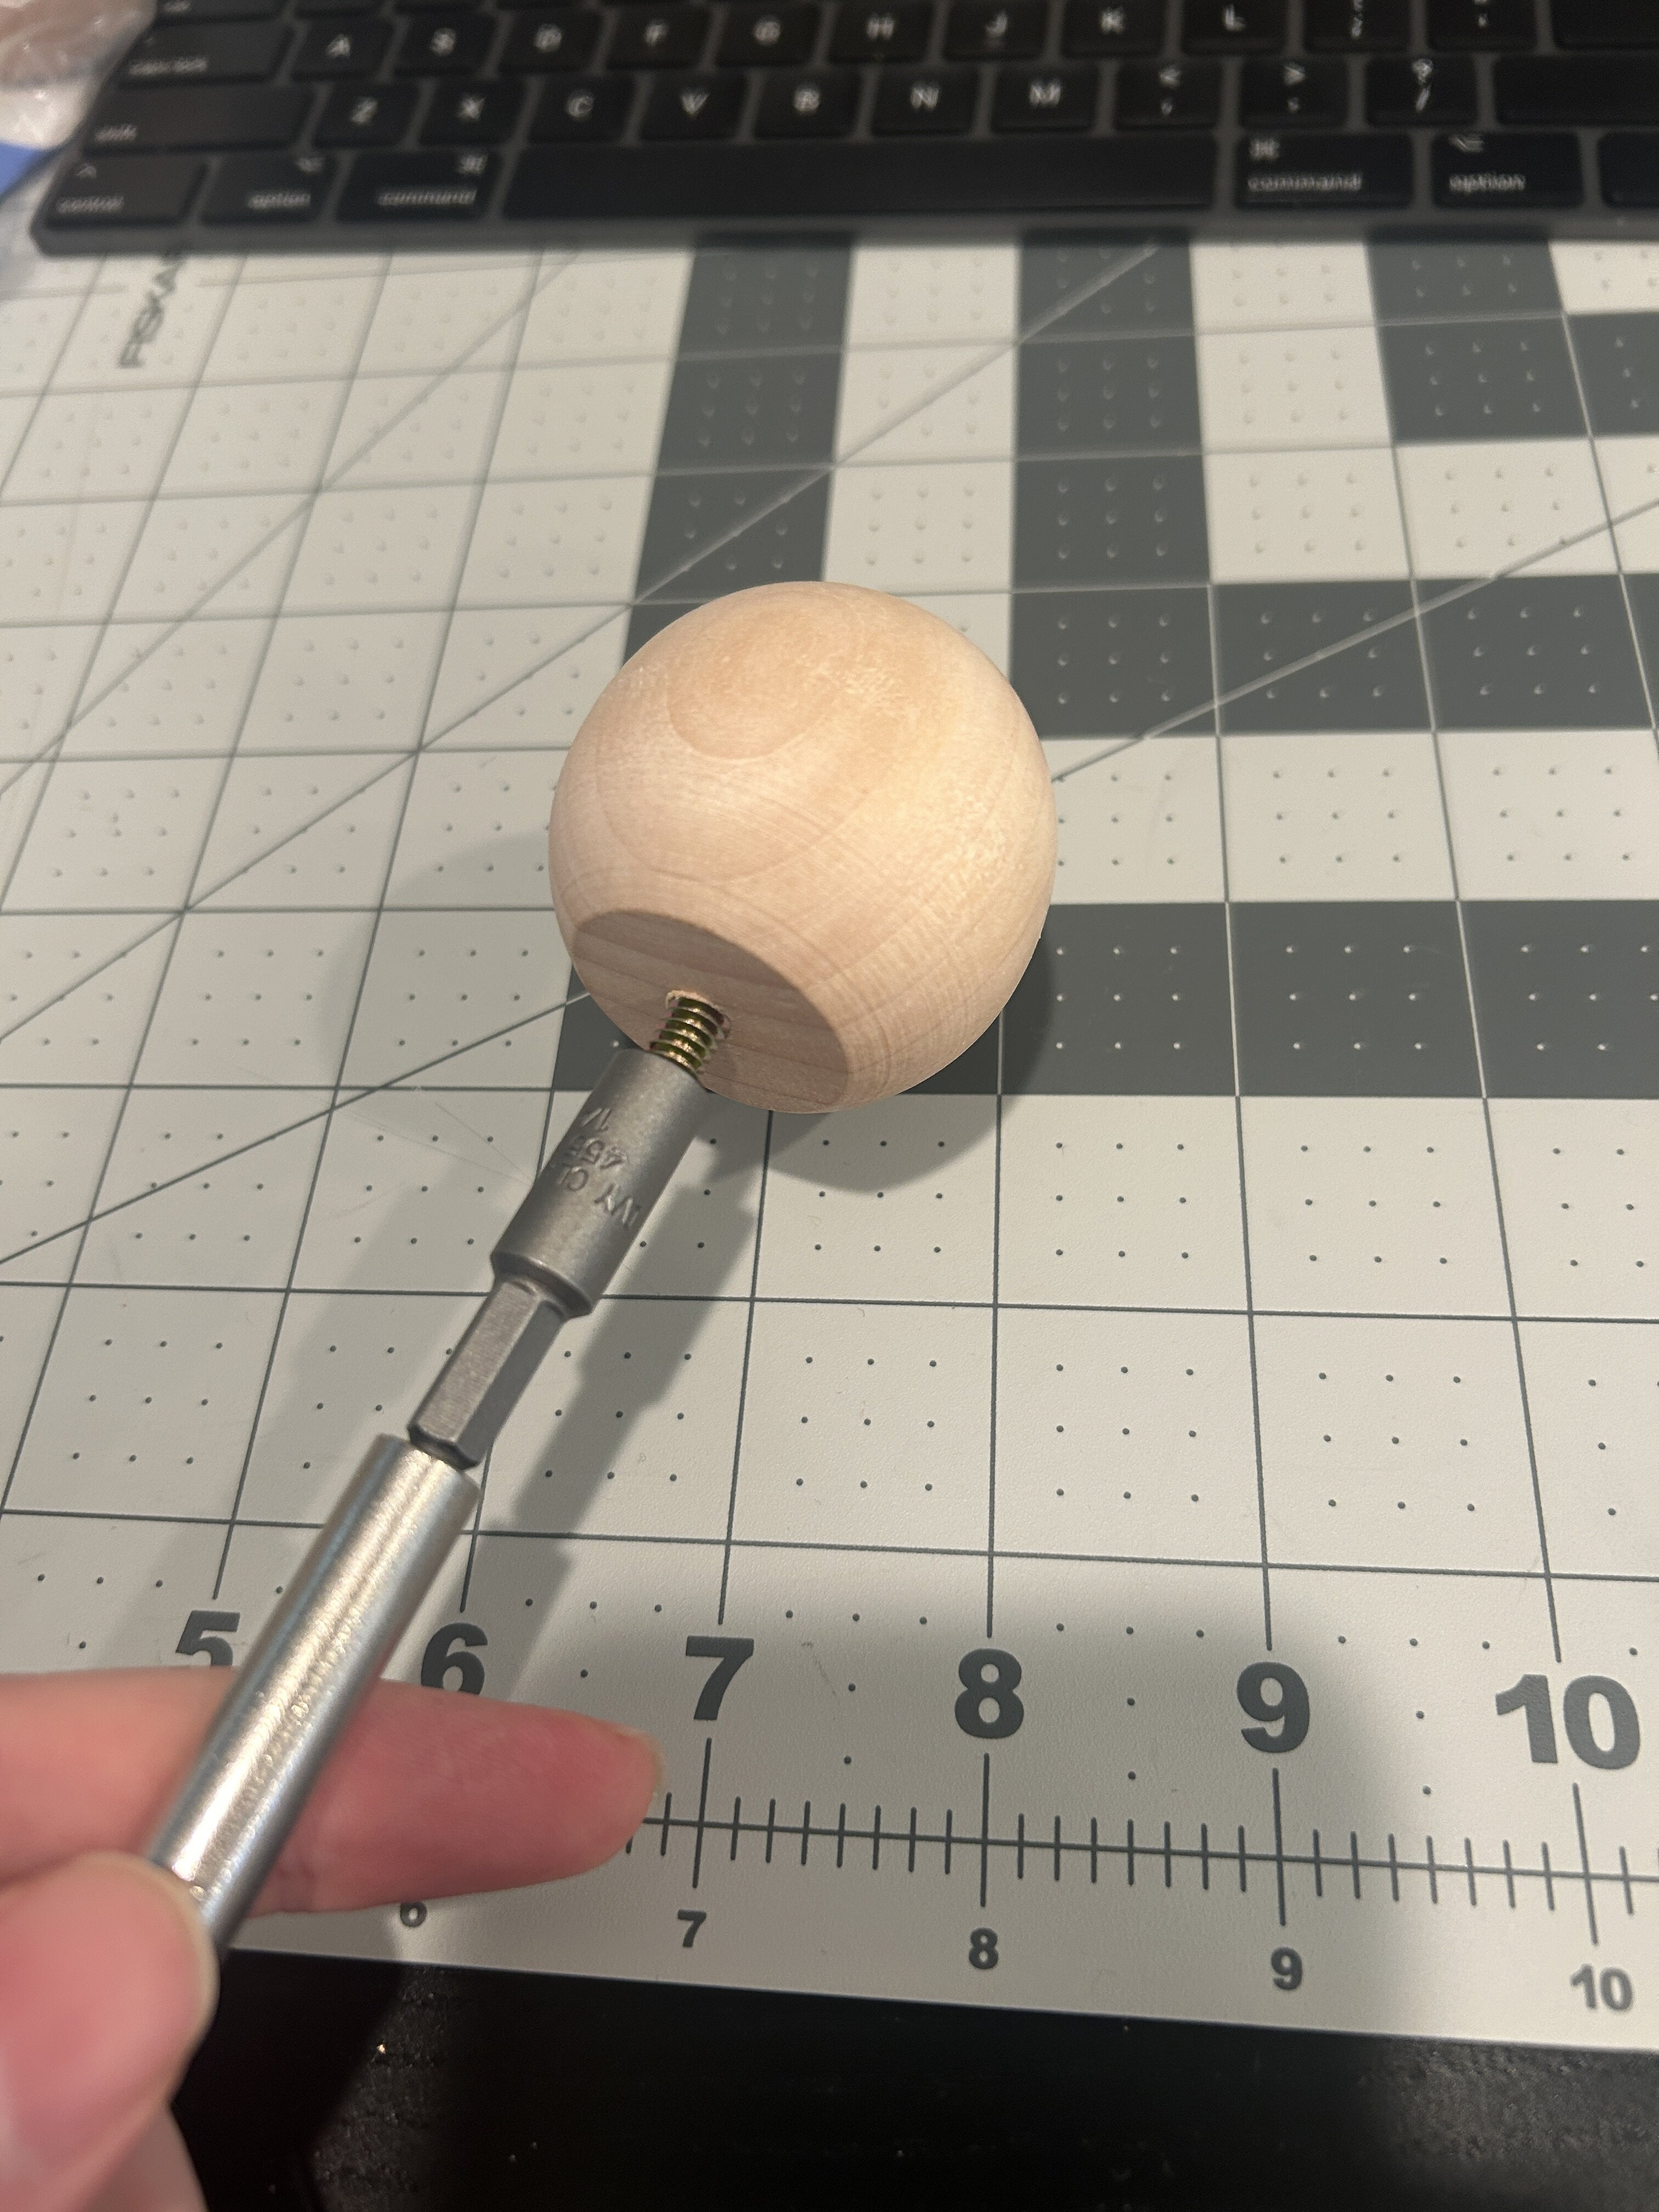 Close-up of the wooden eye knob being screwed onto the hanger bolt, preparing for attachment to the head.
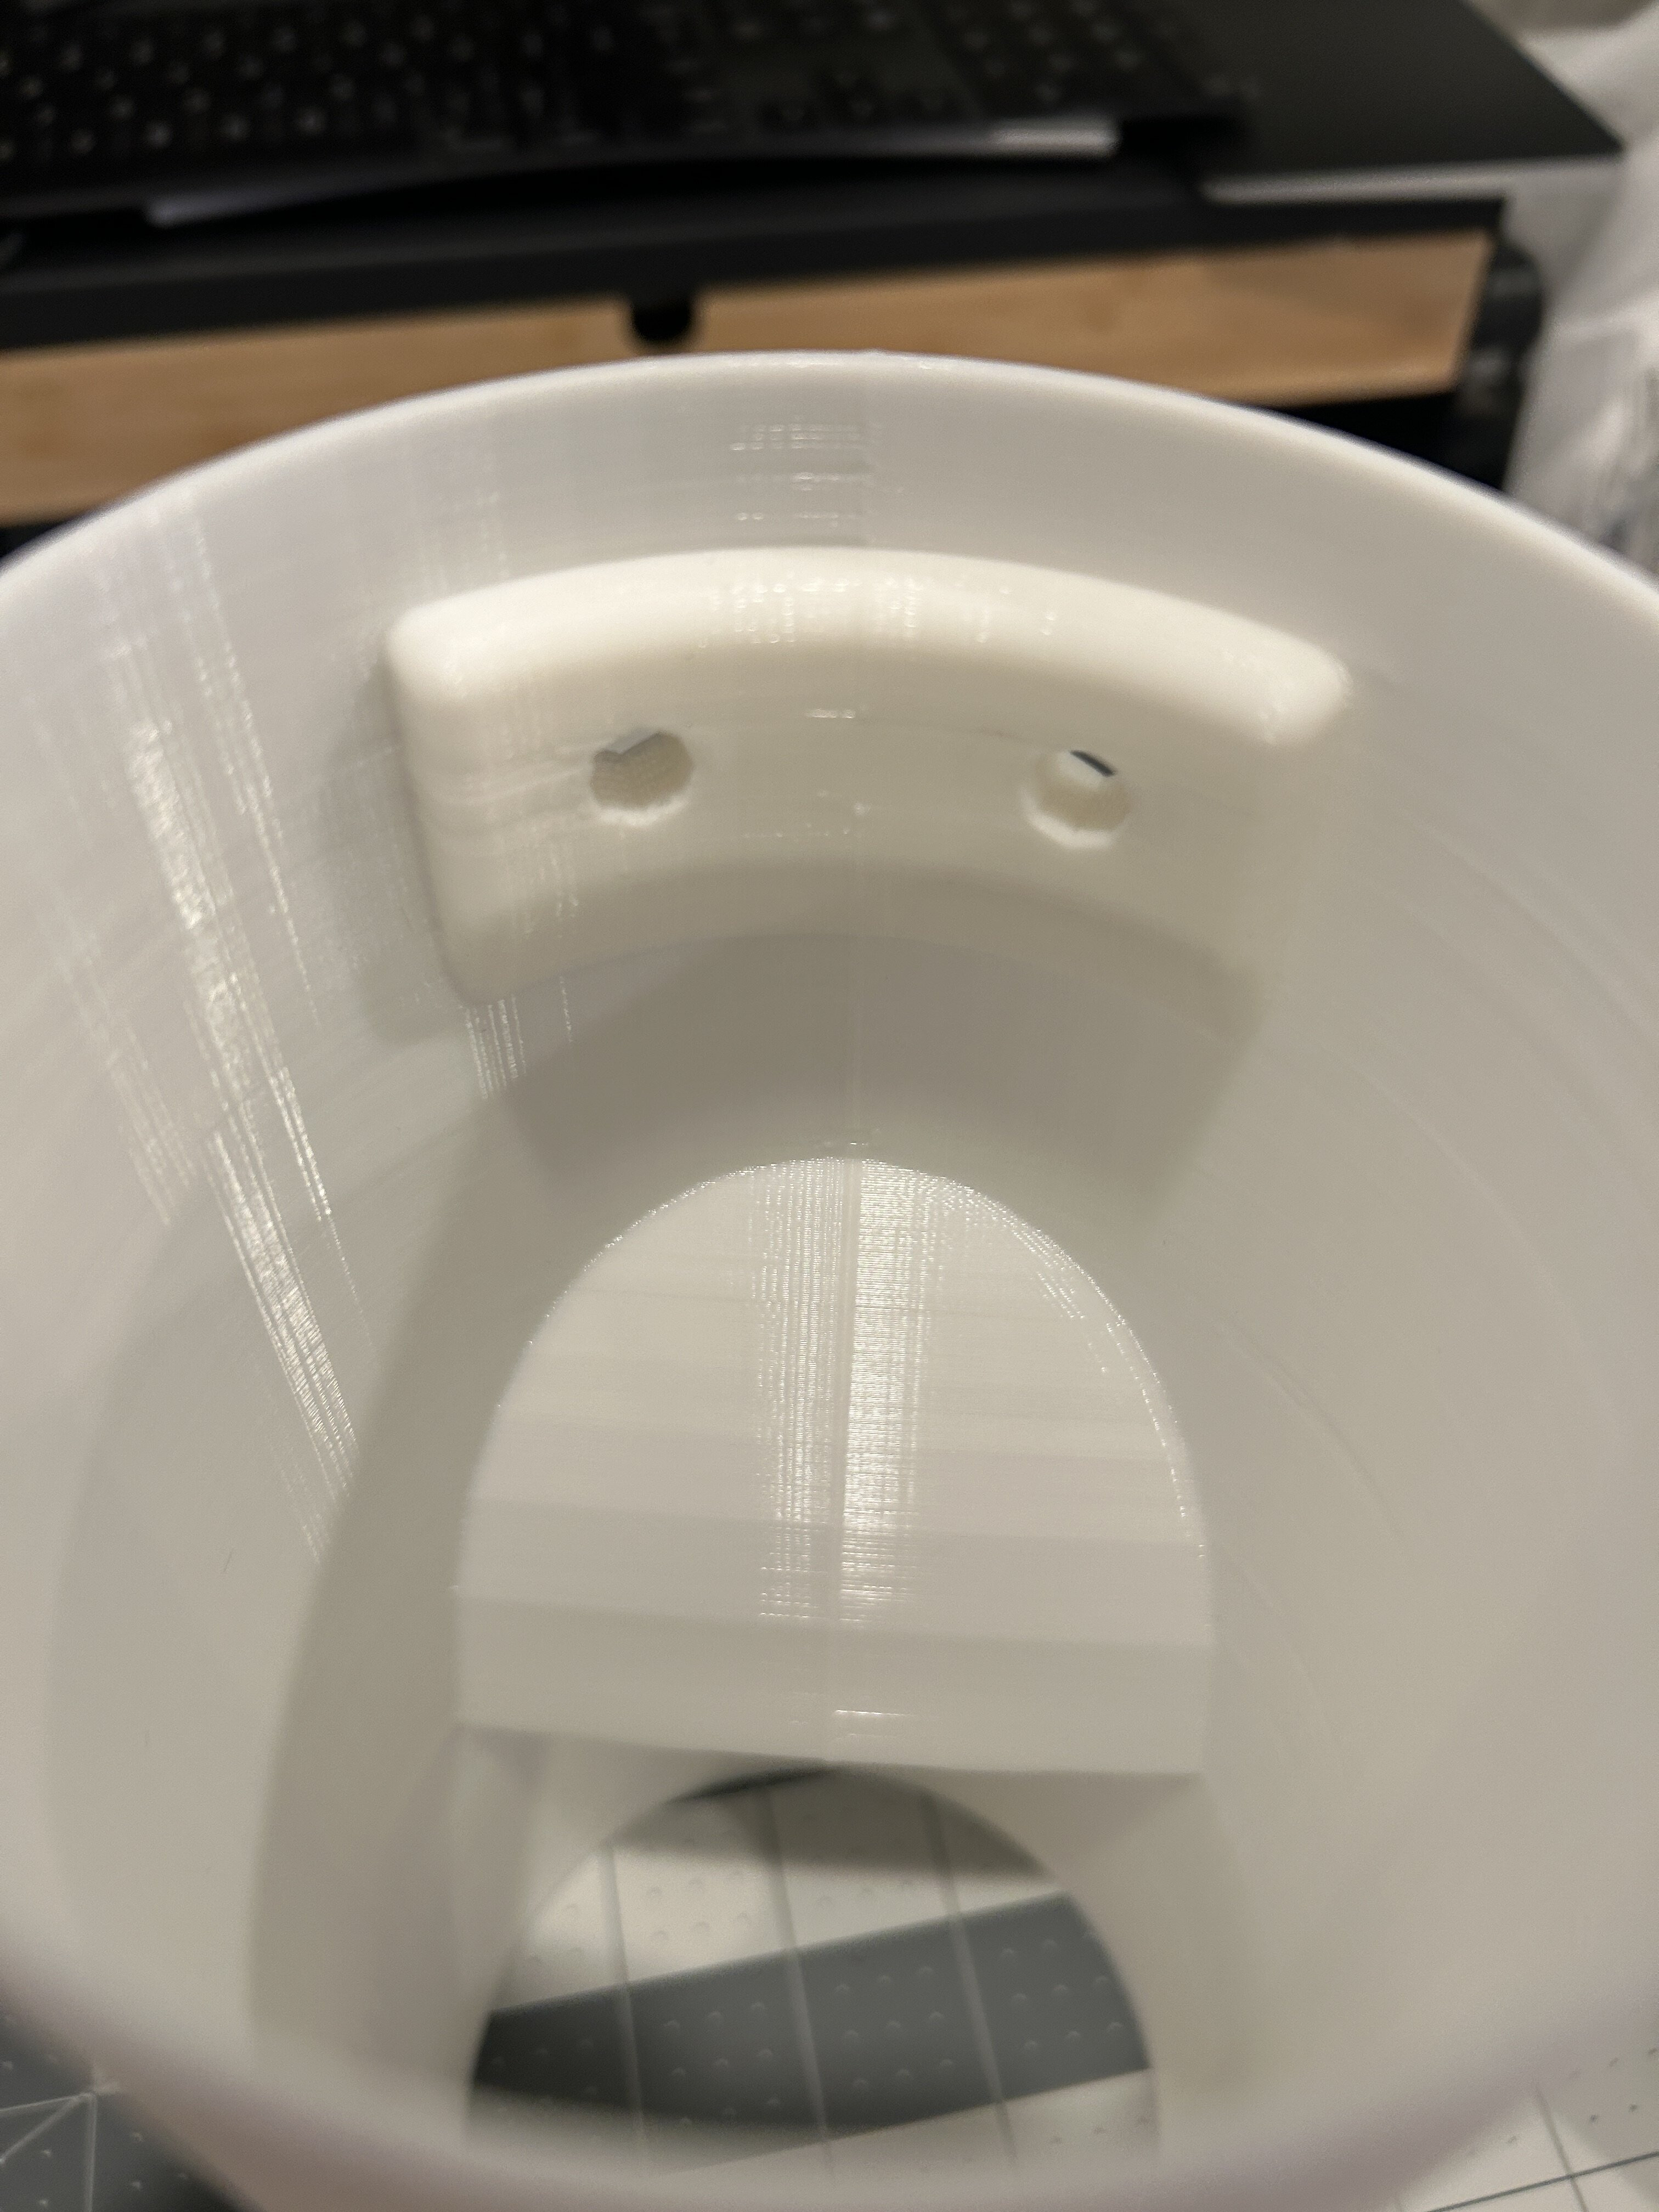
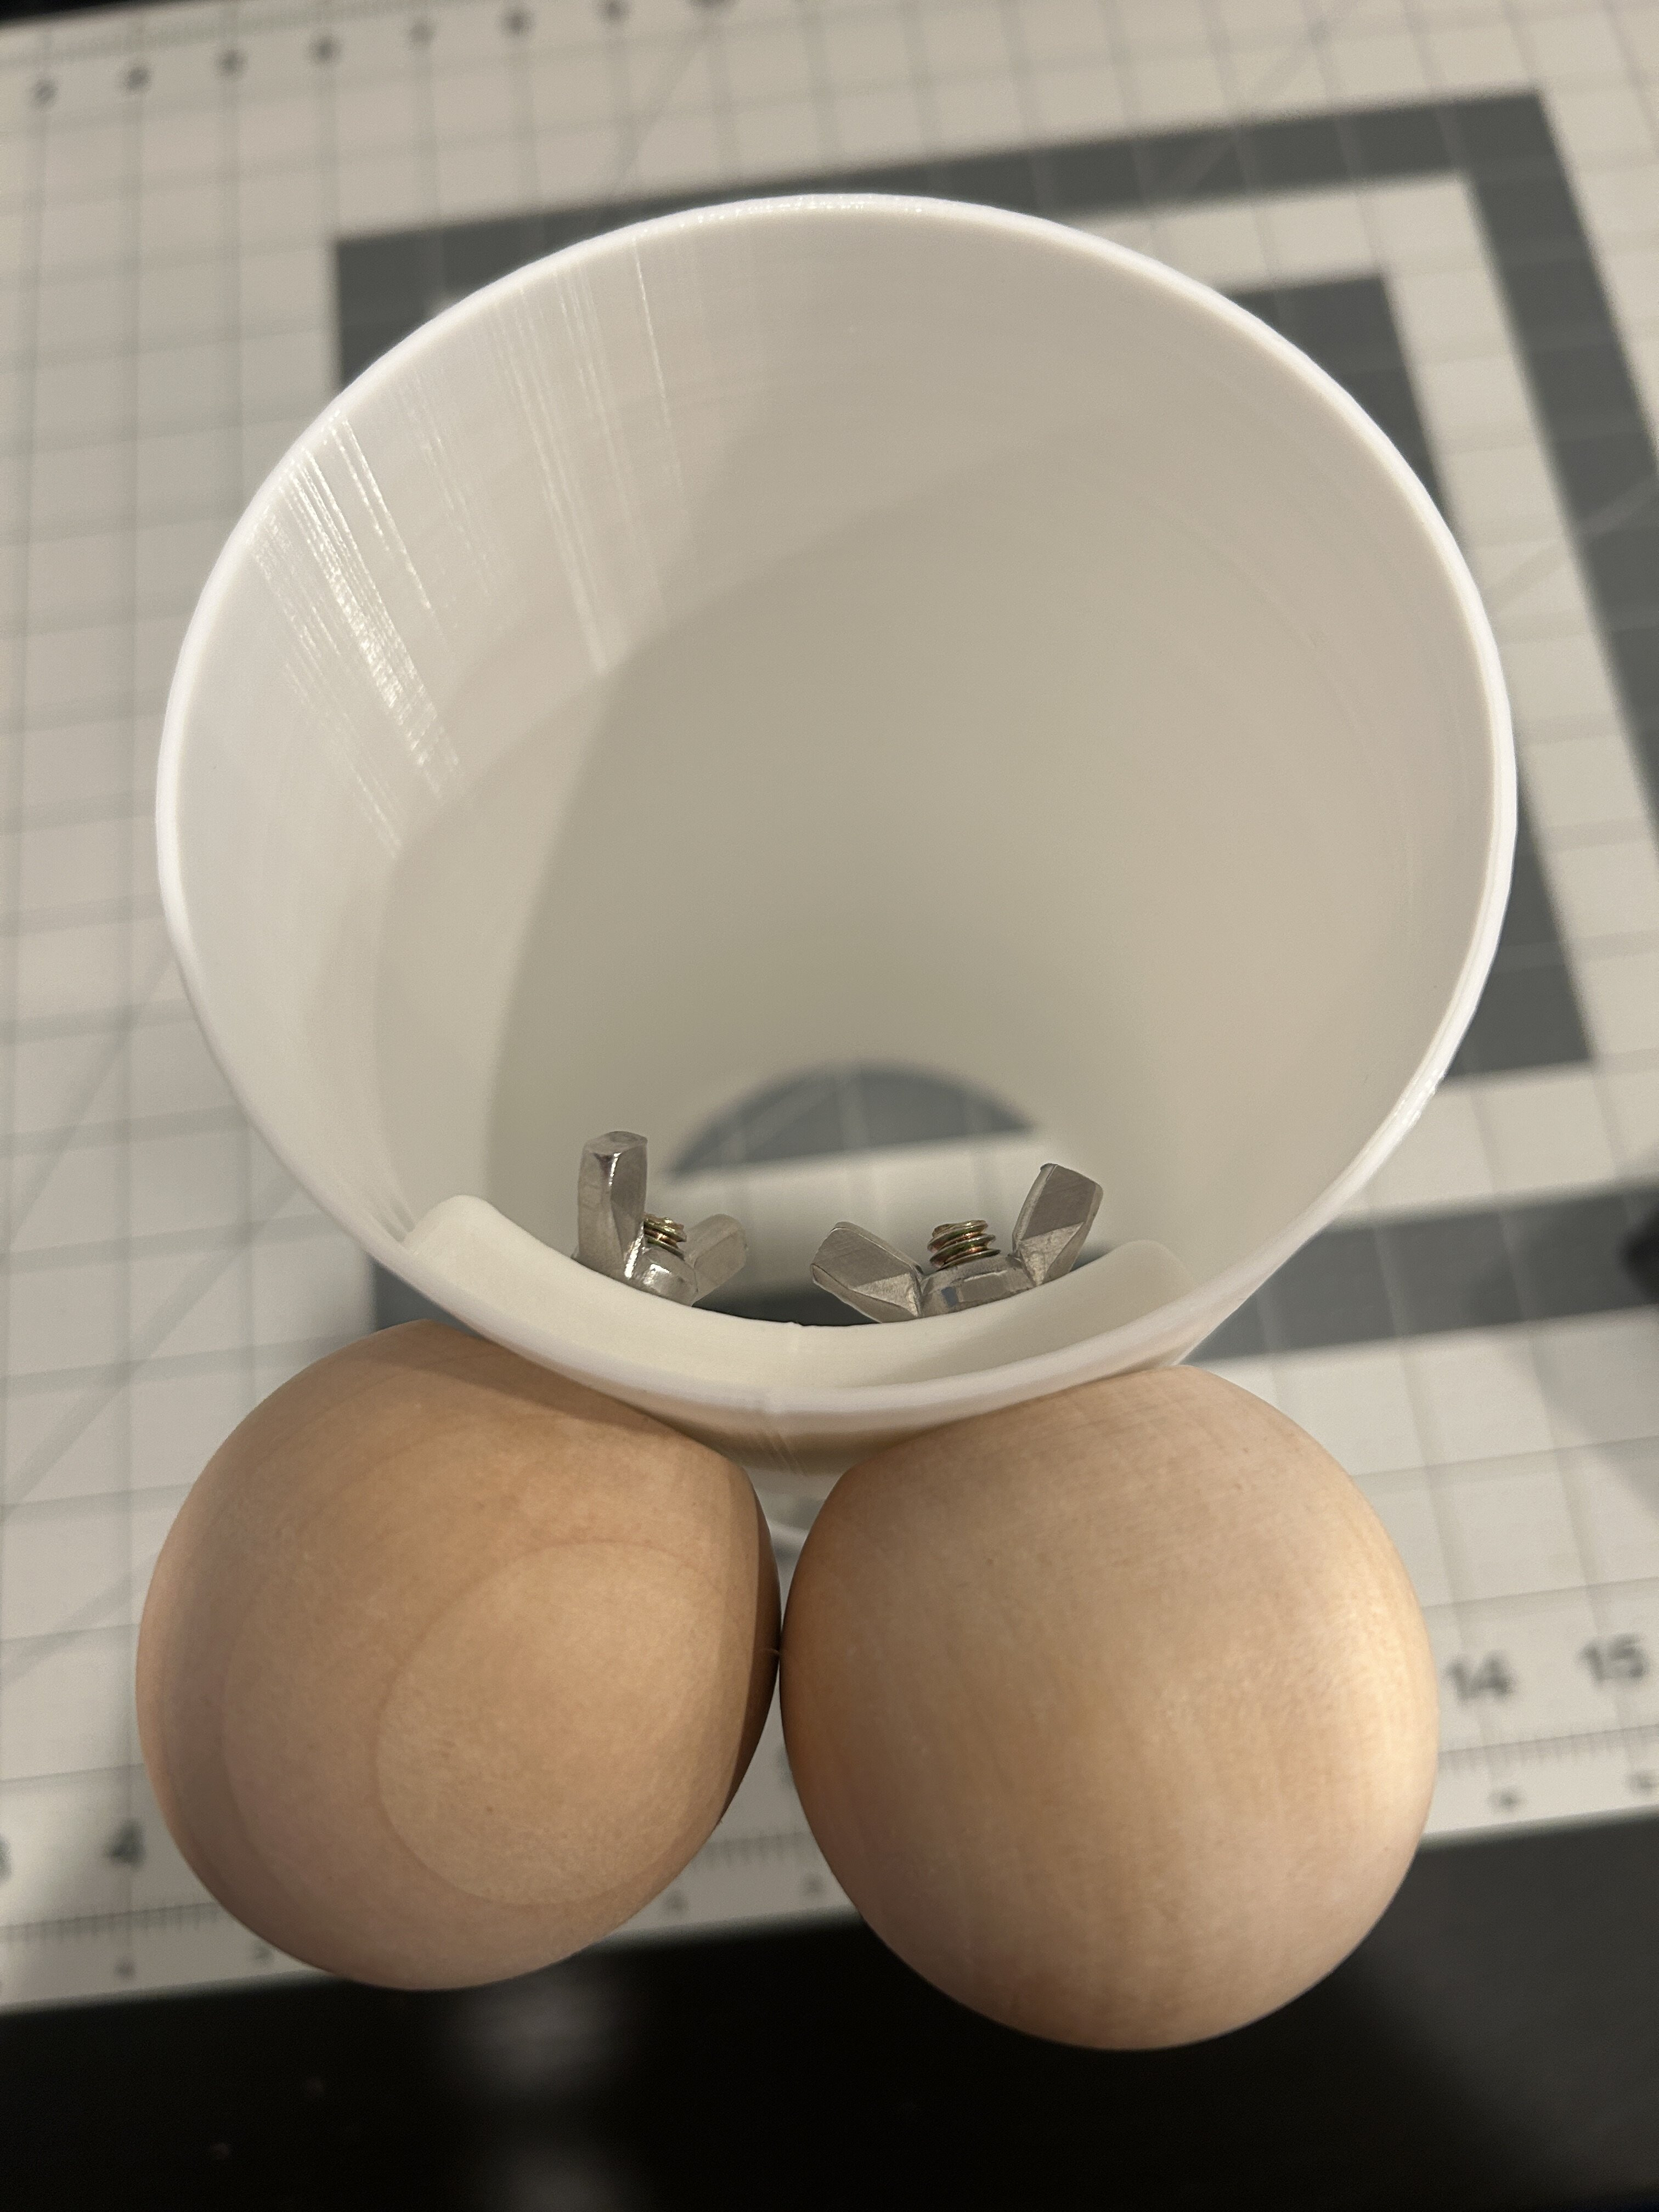
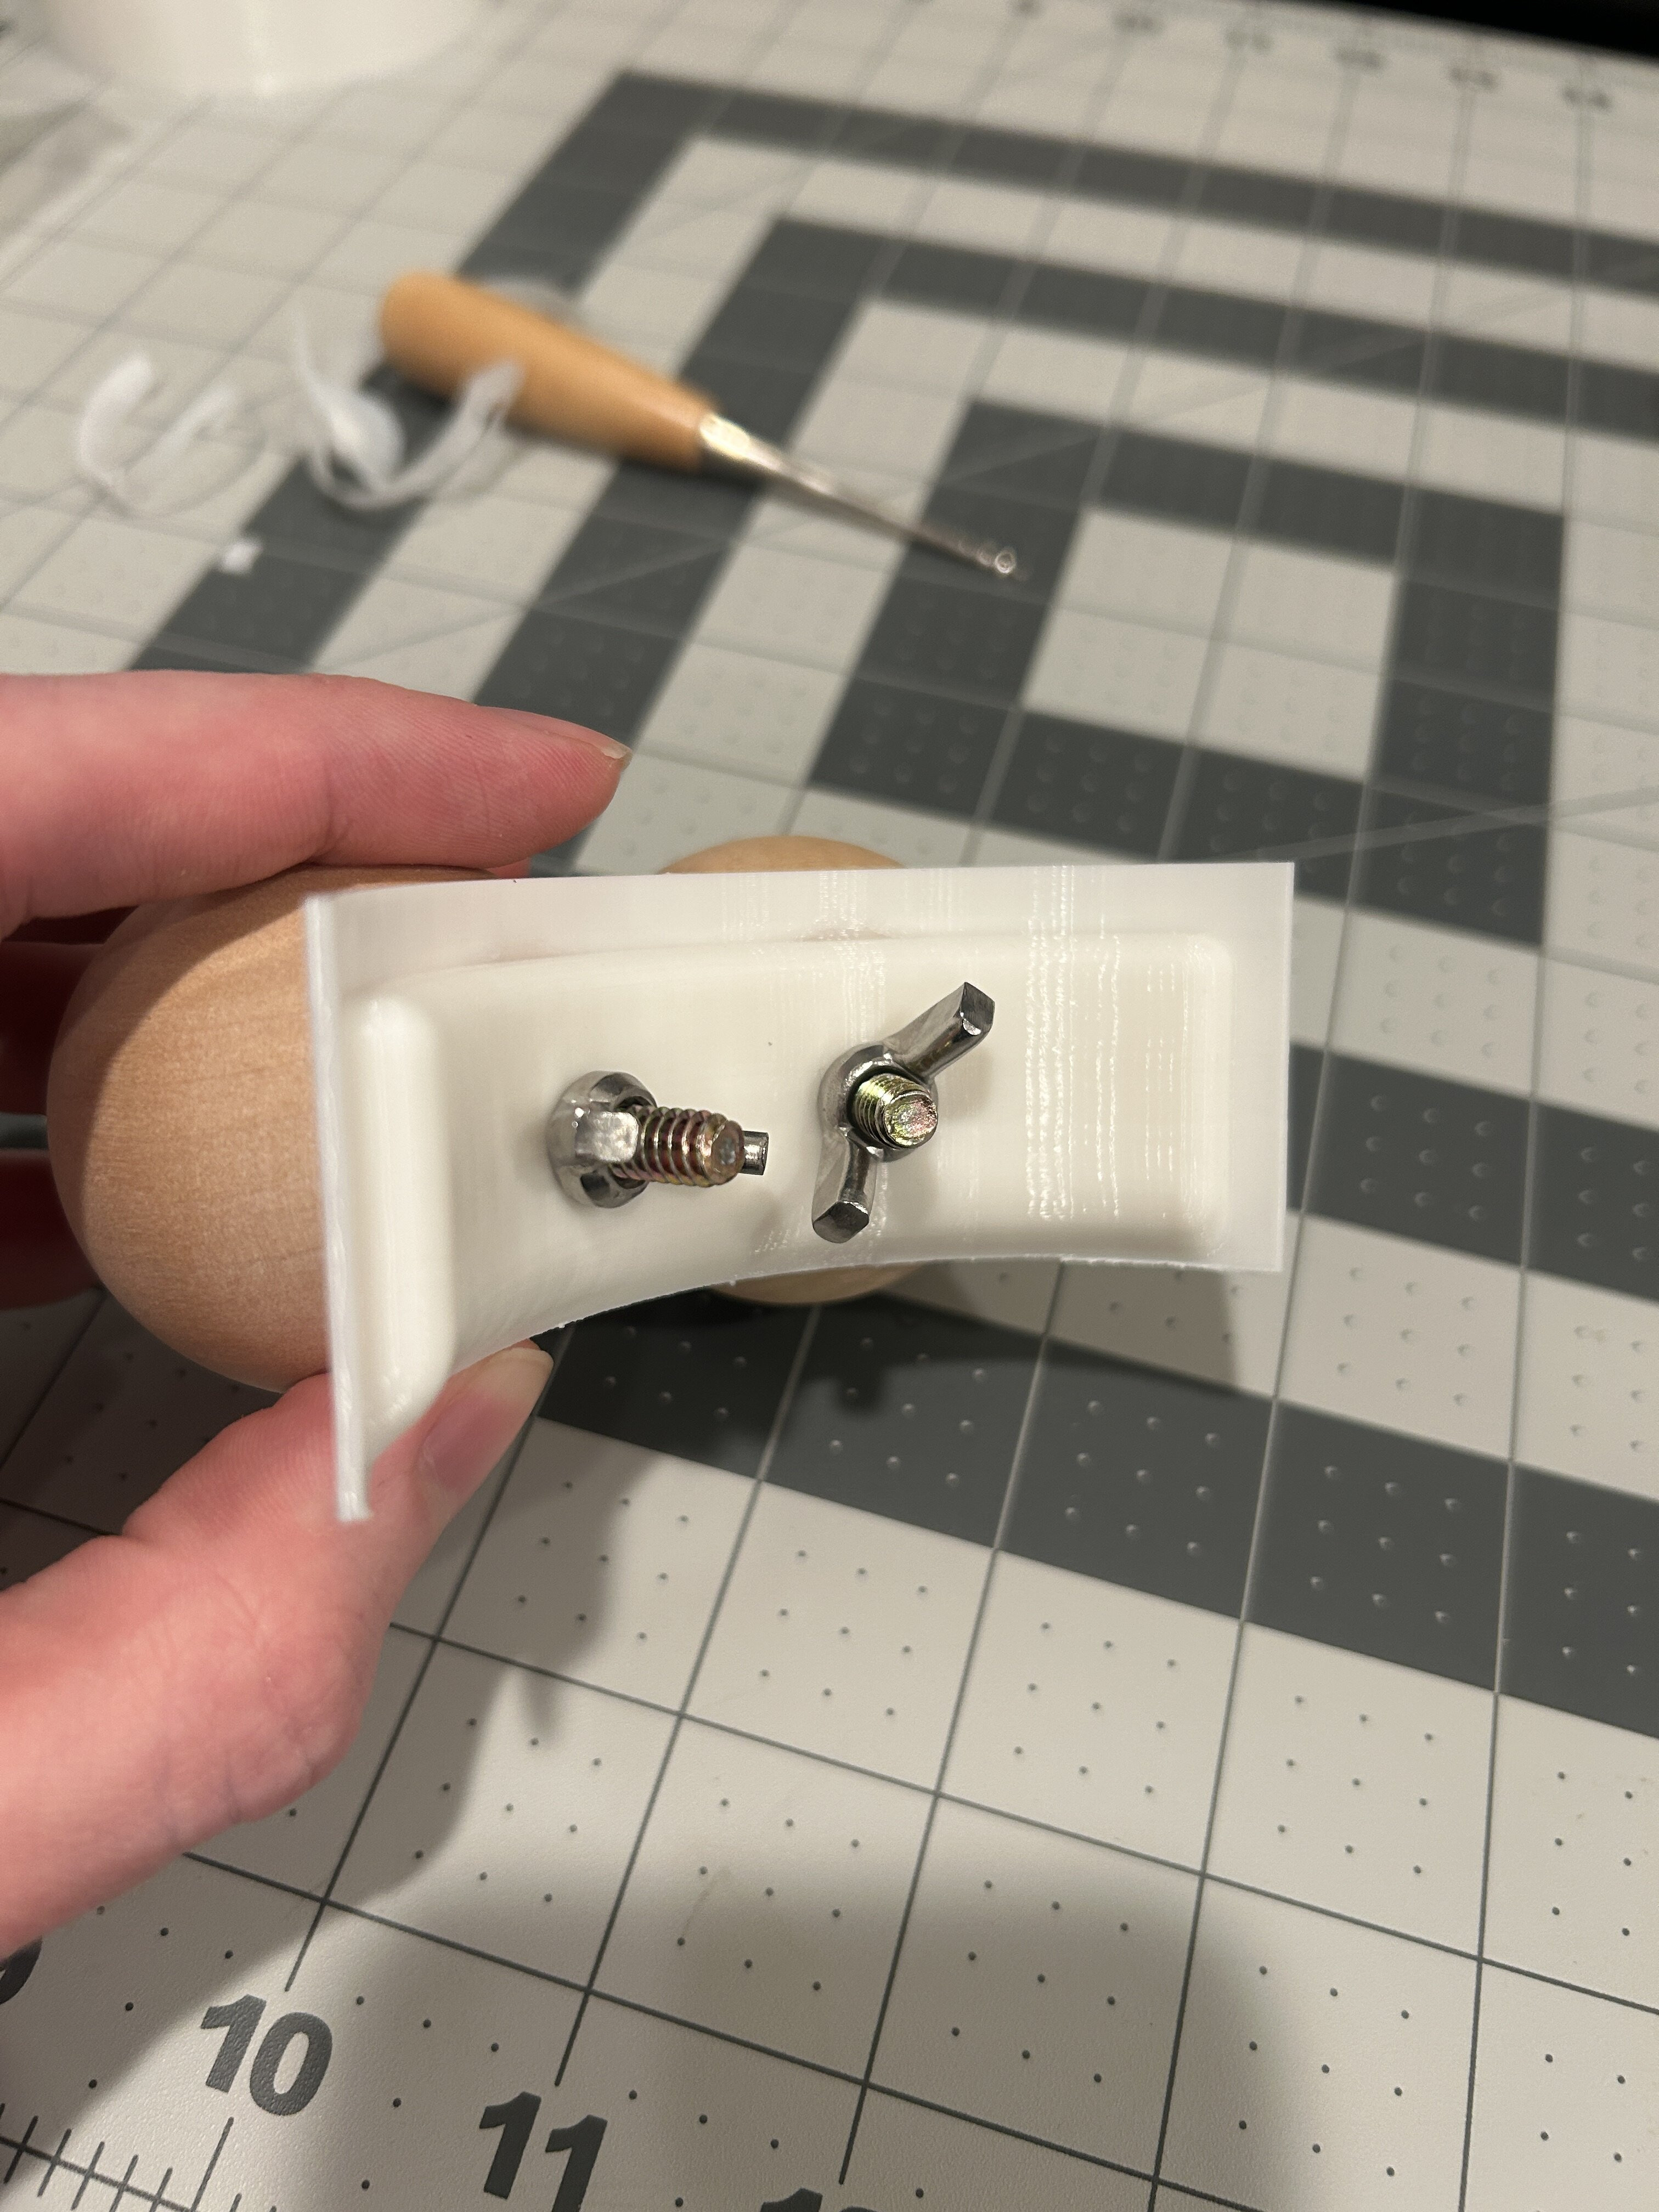
 View of the eye attachment hardware from inside the Beaker head, showing the wing nut and bolt.
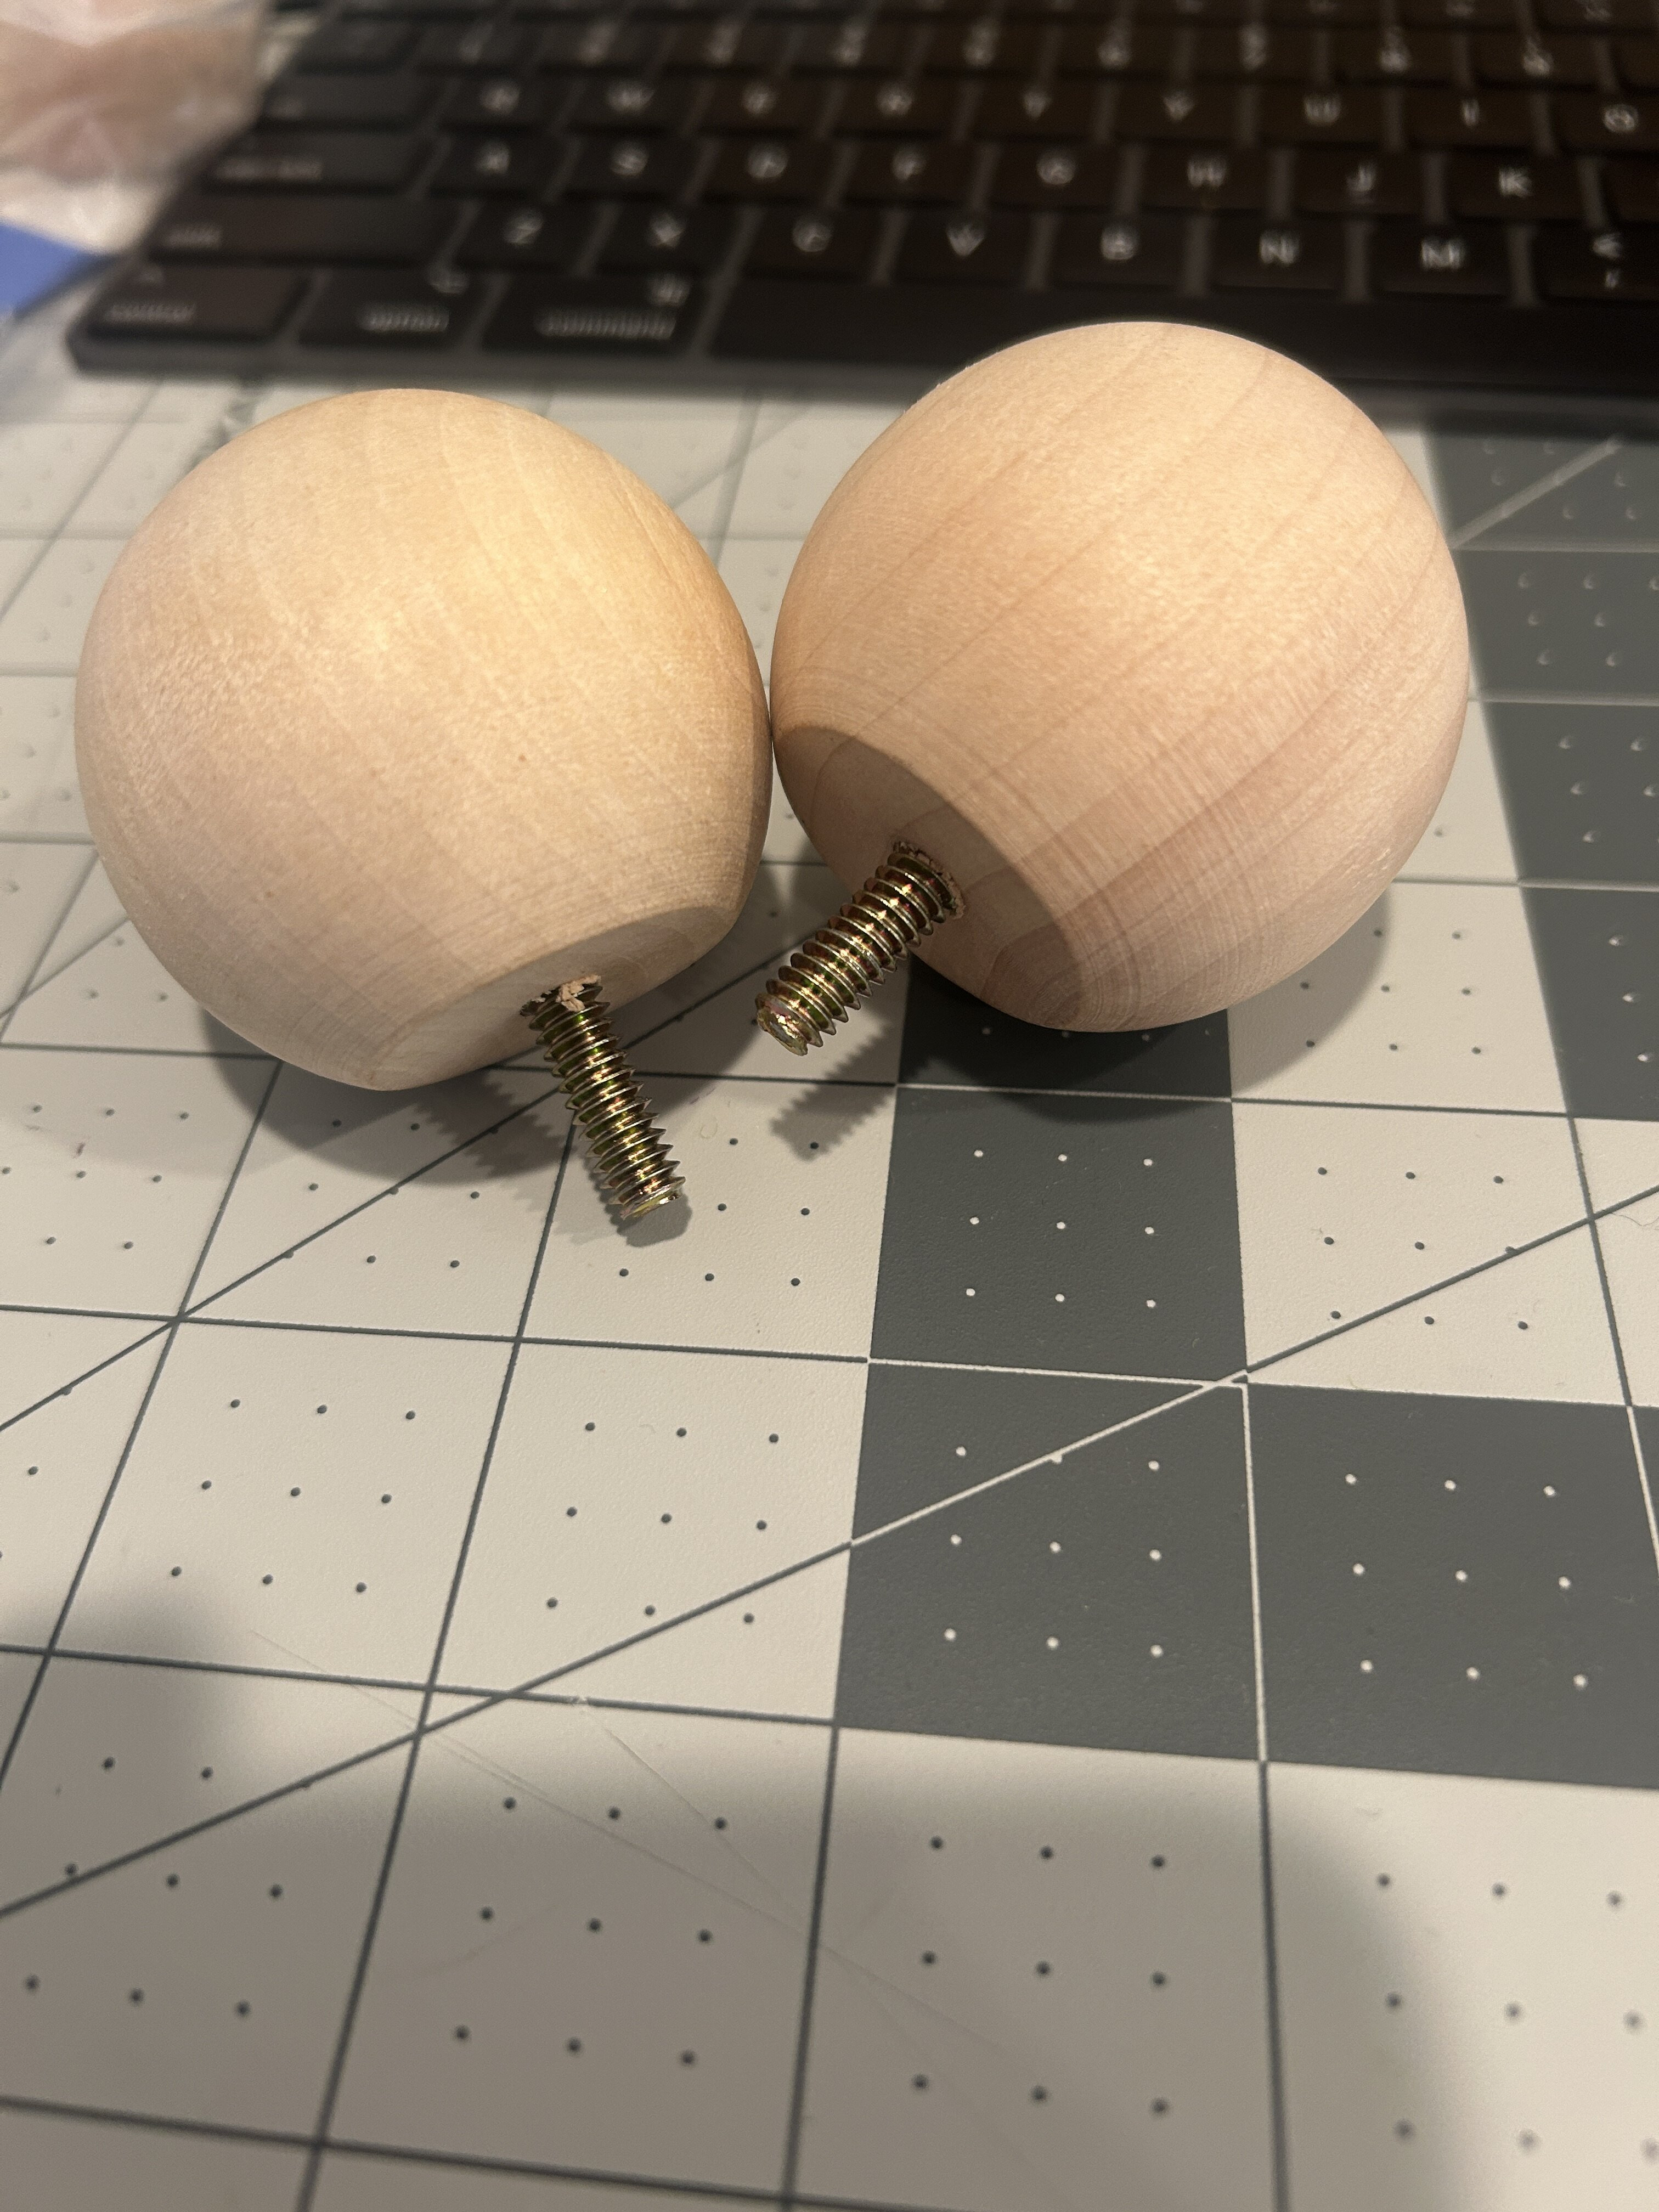
 Beaker head with wooden eyes temporarily attached, showing the initial successful fitting.
The eye fitting was largely successful. However, a minor issue was observed: the flat backs of the wooden eyes protruded slightly from the curved head surface. While this would likely be concealed by the fleece covering, a refinement was deemed worthwhile. Version 1.2 of the 3D model incorporated flattened areas in the eye sockets, allowing the eye centers to sit slightly recessed. Additionally, a slight gap between the eyes in the initial fitting was corrected by adjusting the eye angle in the digital model, ensuring they would meet seamlessly without manual screw adjustments.
Due to the lengthy print time for the complete V1.2 head, only the eye section was test-printed to verify the refinements. This test proved successful, paving the way for printing the full updated head model. This marks a significant step in the Beaker puppet creation journey. Like the Kermit project before it, the patterns and .stl files for this Beaker build are planned to be shared upon completion, allowing other enthusiasts to embark on their own Muppet crafting adventures.
 Comparison image showing the original eye mount and the refined V1.2 eye mount design.
 Close-up of the test print of the refined eye section, demonstrating the improved fit for Beaker's eyes.
 Angle view of the refined eye section test print, showing the curvature and eye socket adjustments.